Documentation Index
Fetch the complete documentation index at: https://valmiio.mintlify.app/llms.txt
Use this file to discover all available pages before exploring further.
Introduction
Facebook Ads lets you createCustom Audiences. With this audience set, you can target your ads to people who visited your website, used your mobile app, or gave you their email address or phone number. You can also create Lookalike Audiences based on the uploaded Custom Audience, to reach new people who are likely to be interested in your business because they’re similar to your Custom Audience.
Through valmi.io, you can sync your curated customer data on your warehouse to Facebook Custom Audiences. You can then use the audience data to create Lookalike audiences, ads and campaigns.
Facebook Ads Configuration
To sync a custom audience through valmi.io, you need to create aCustom Audience on Facebook Ads Manager. Please follow the steps below to create one:
- Go to AdsManager on Facebook and click on
Audienceson the left hand side menu.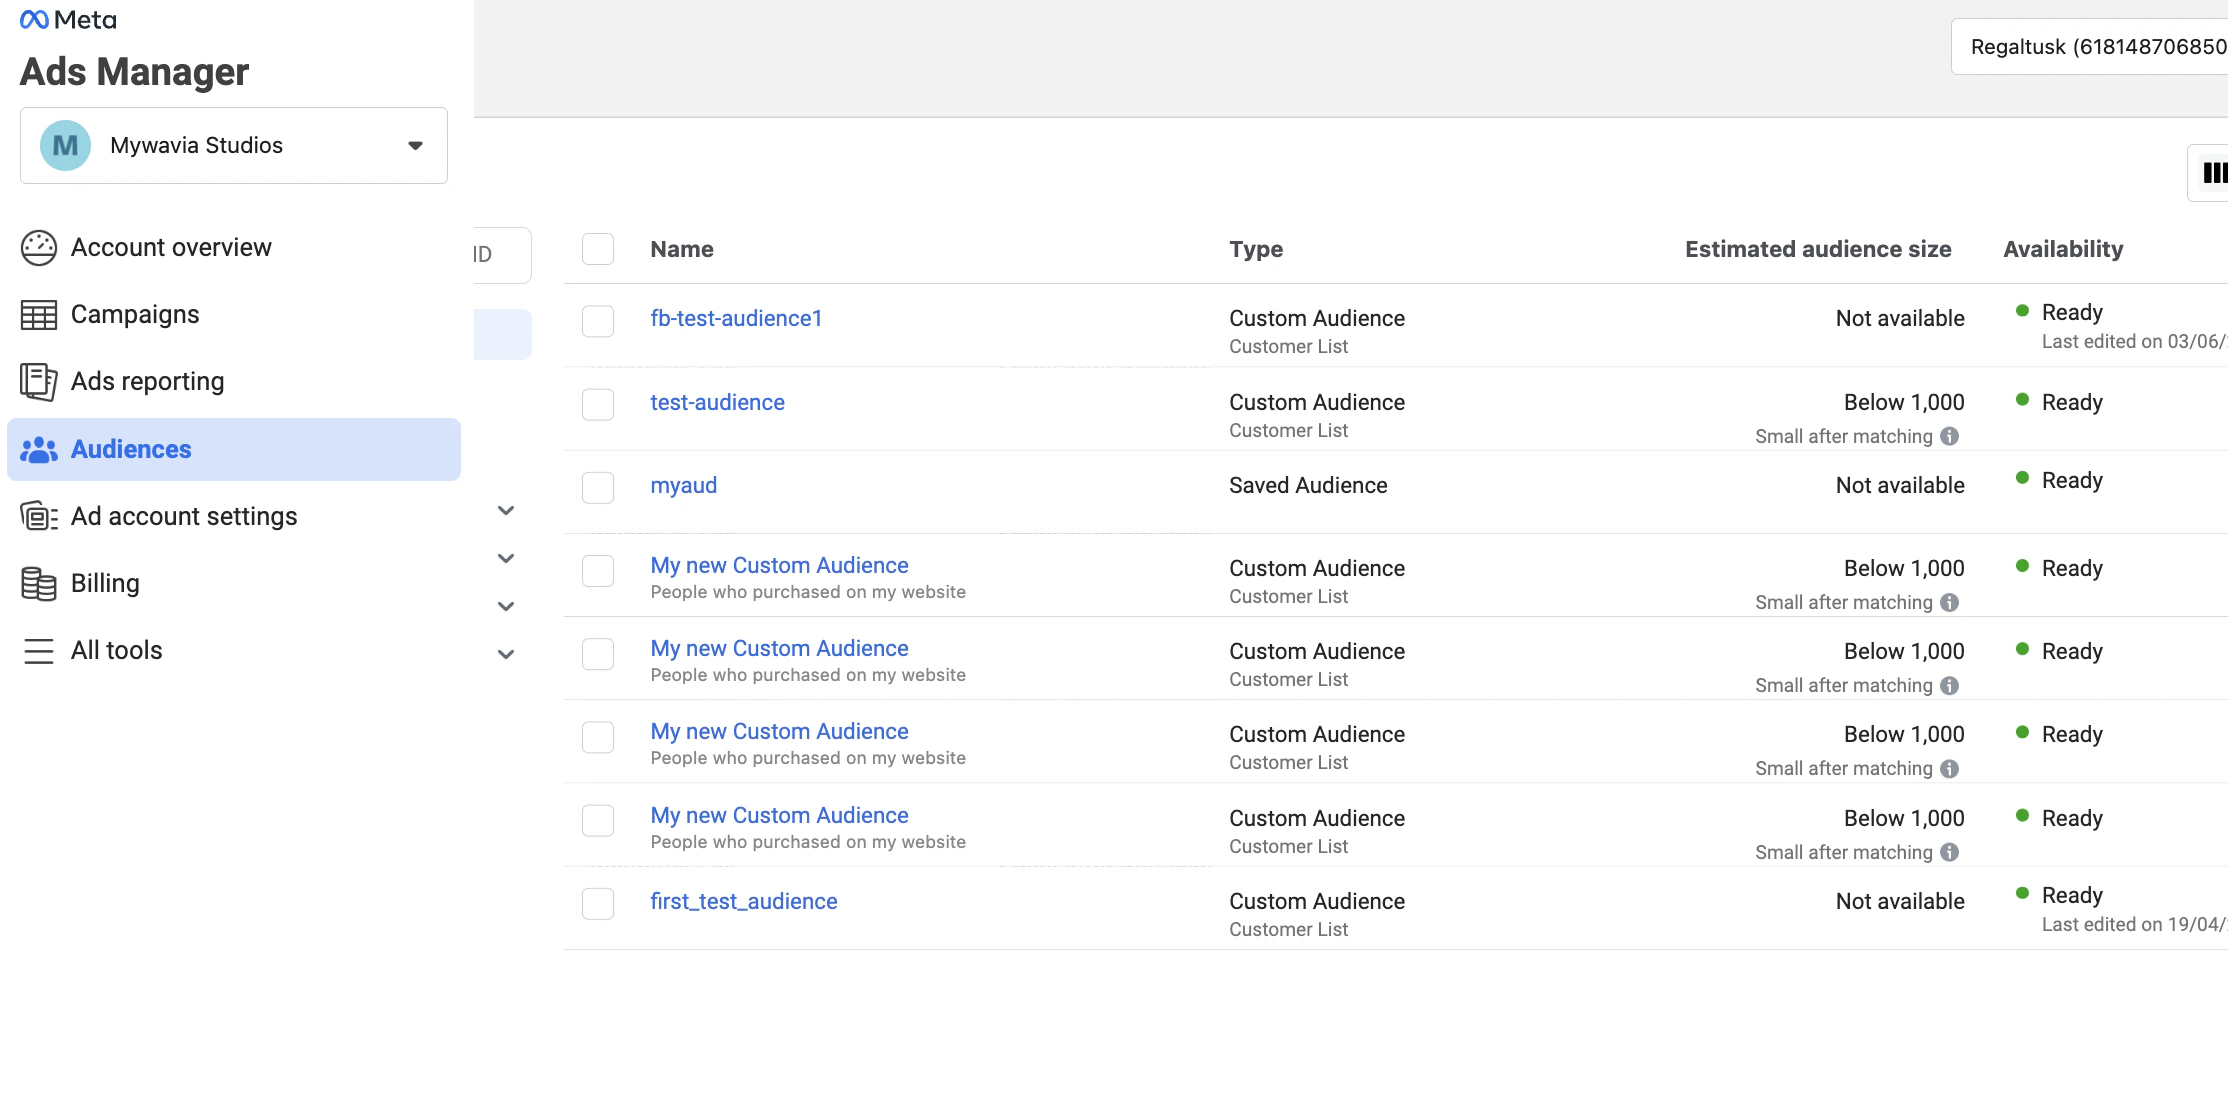
- Click on
Create Audience, selectCustom Audiencefrom the dropdown, and then selectCustomer Listfrom the next dialog screen.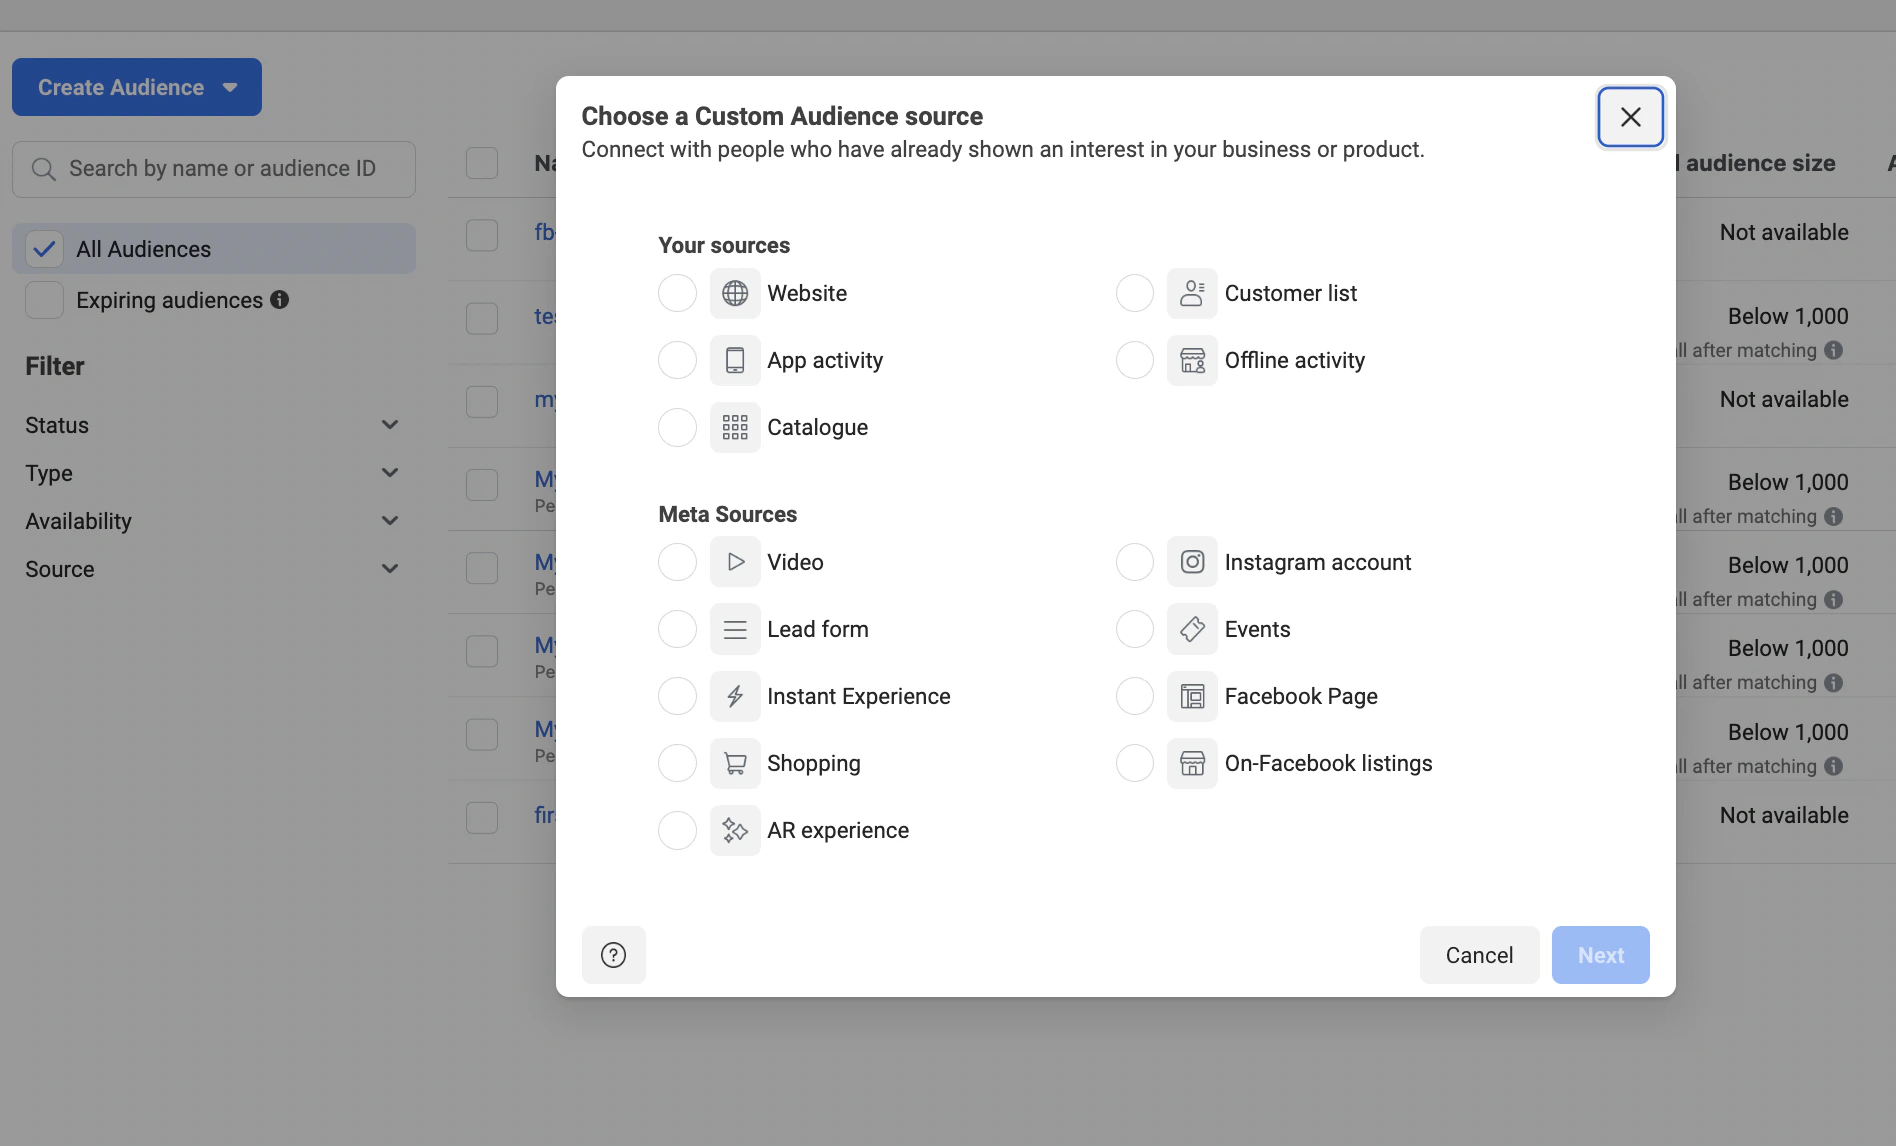
- Click on
Next. - Select value to
NO. To support value based audiences, please contact us. - In the
Add Customer List, just paste a dummy email address, for instancetest+12@valmi.io. - Name you audience, click on
Nextand finish creating the audience.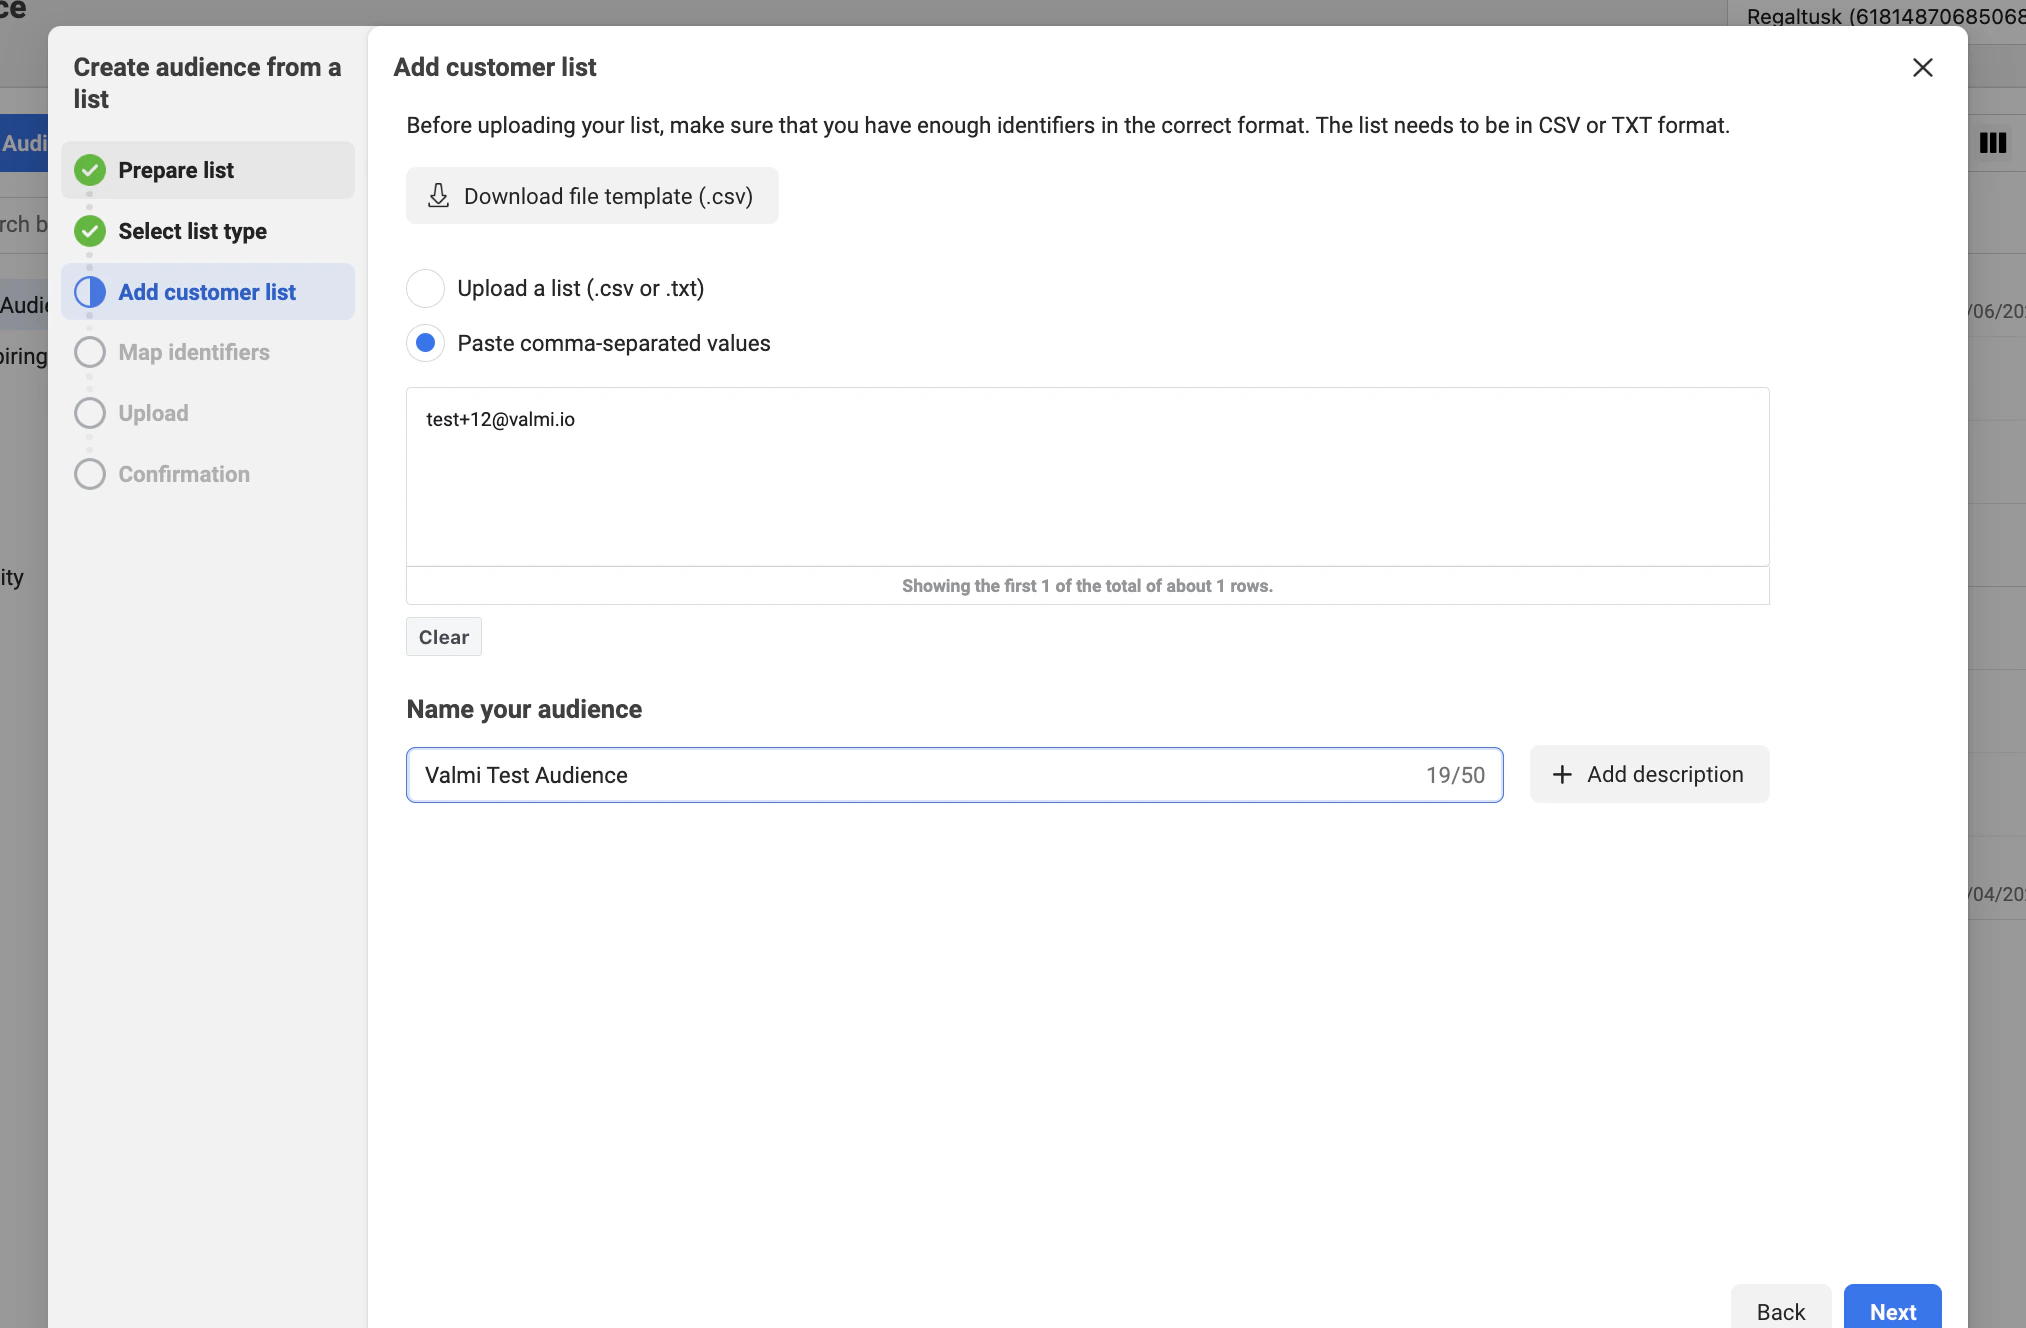
Creating a Facebook Ads Connection on valmi.io
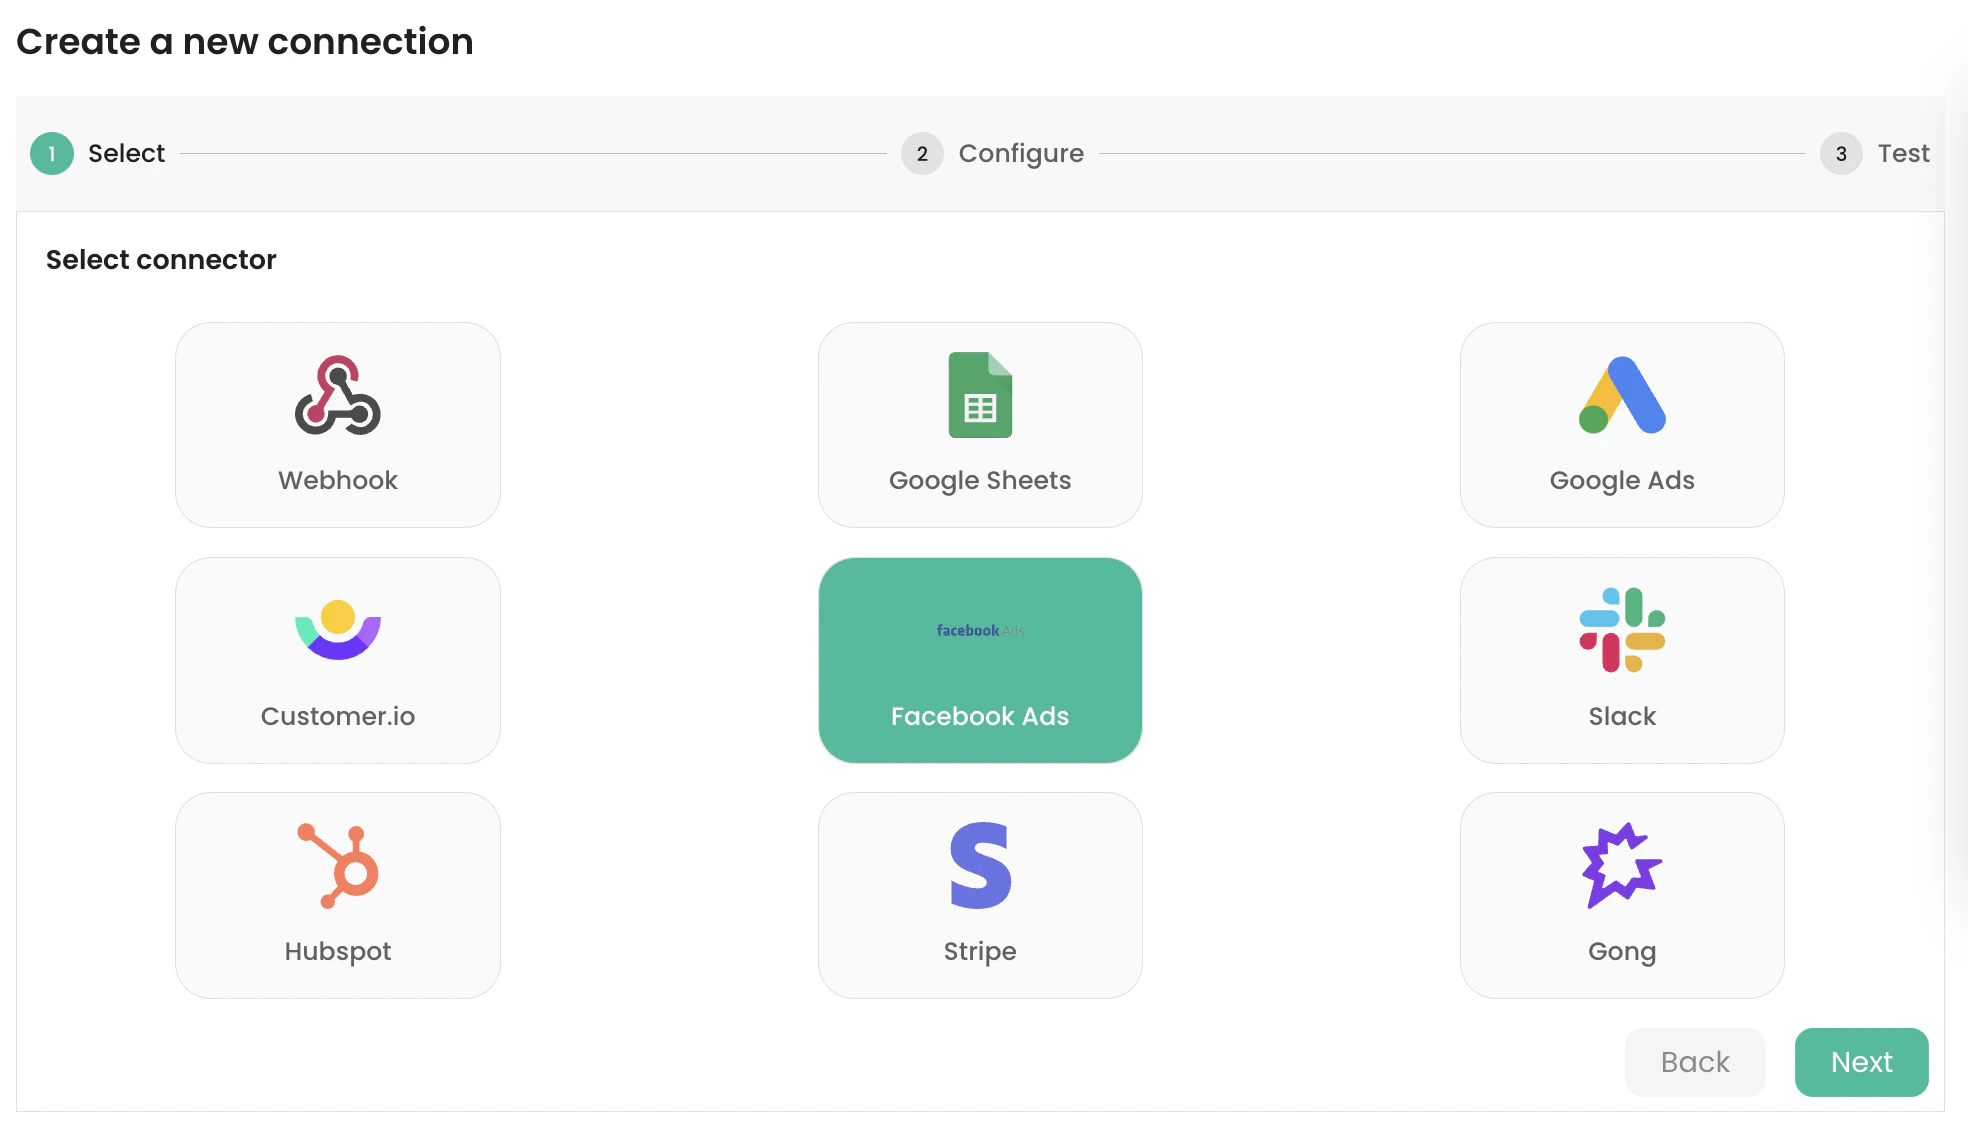
Go to destinations on valmi.io and create a new destination. SelectFacebook Ads as the destination.
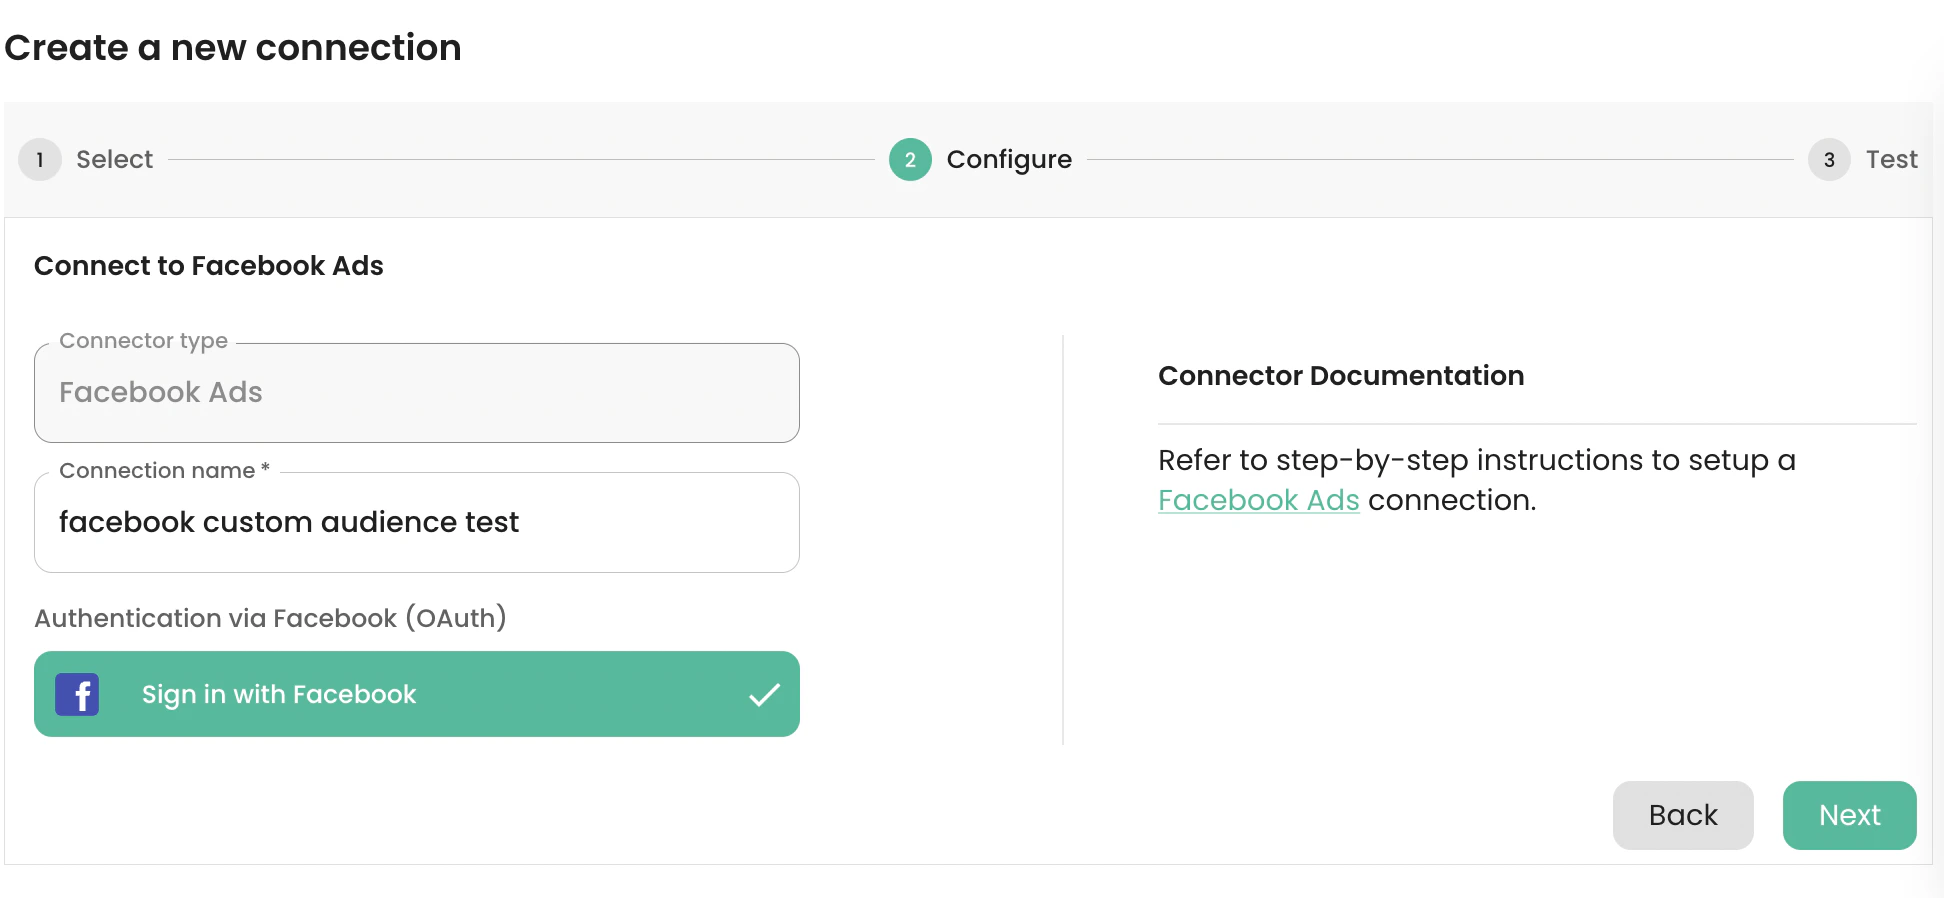
Sign in with Facebook and enter a name for the connection. Click on the Next button to connect to the Facebook Ads API, test the connection, and create it.
Setting up a Sync
-
Supported Destination Modes
| Destination Mode | Supported |
|---|---|
| Mirror | ✅ |
| Upsert | ✅ |
-
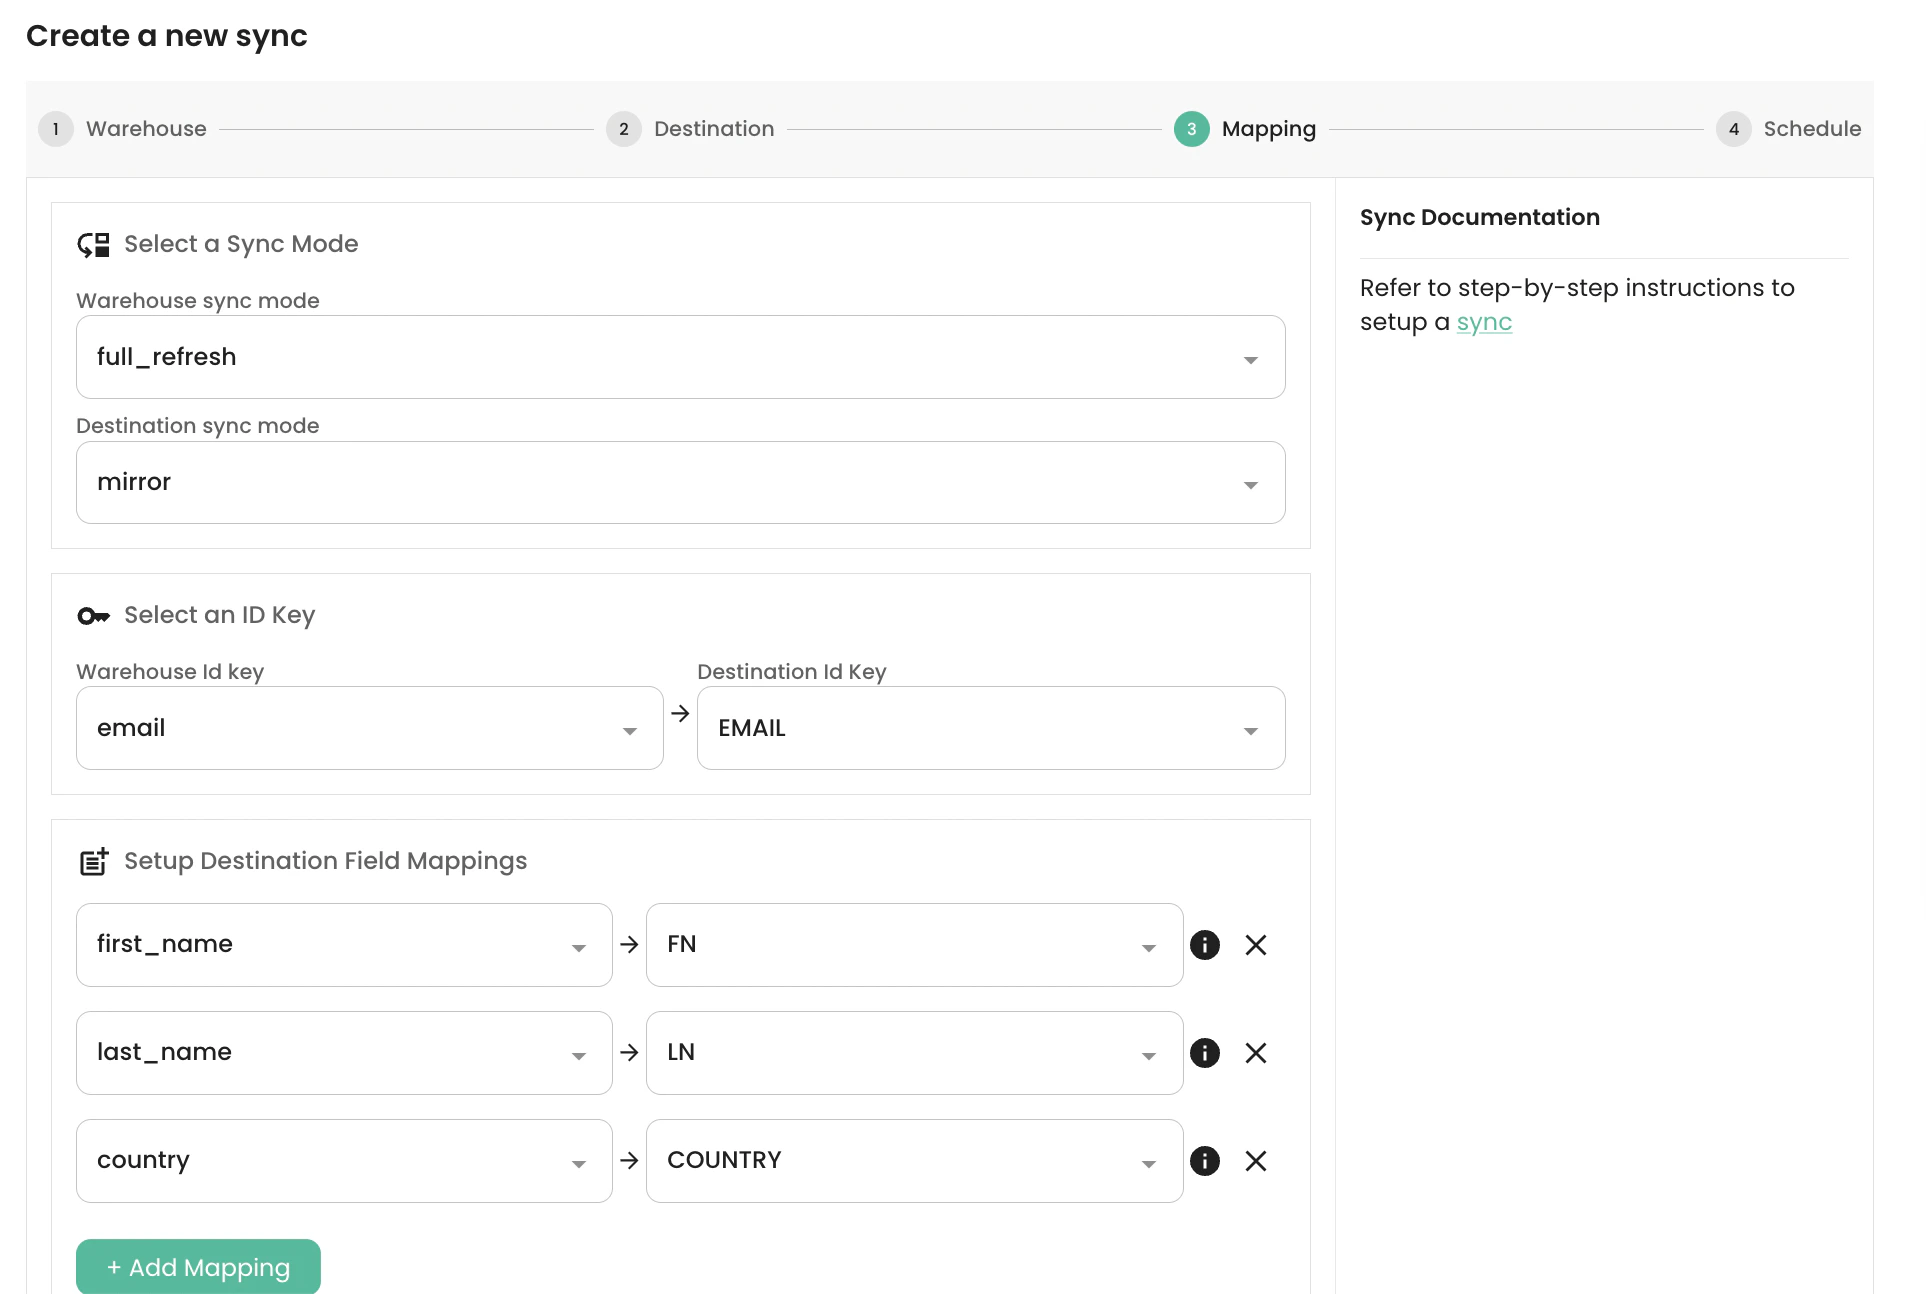
Mapping Source Columns to Destination Fields
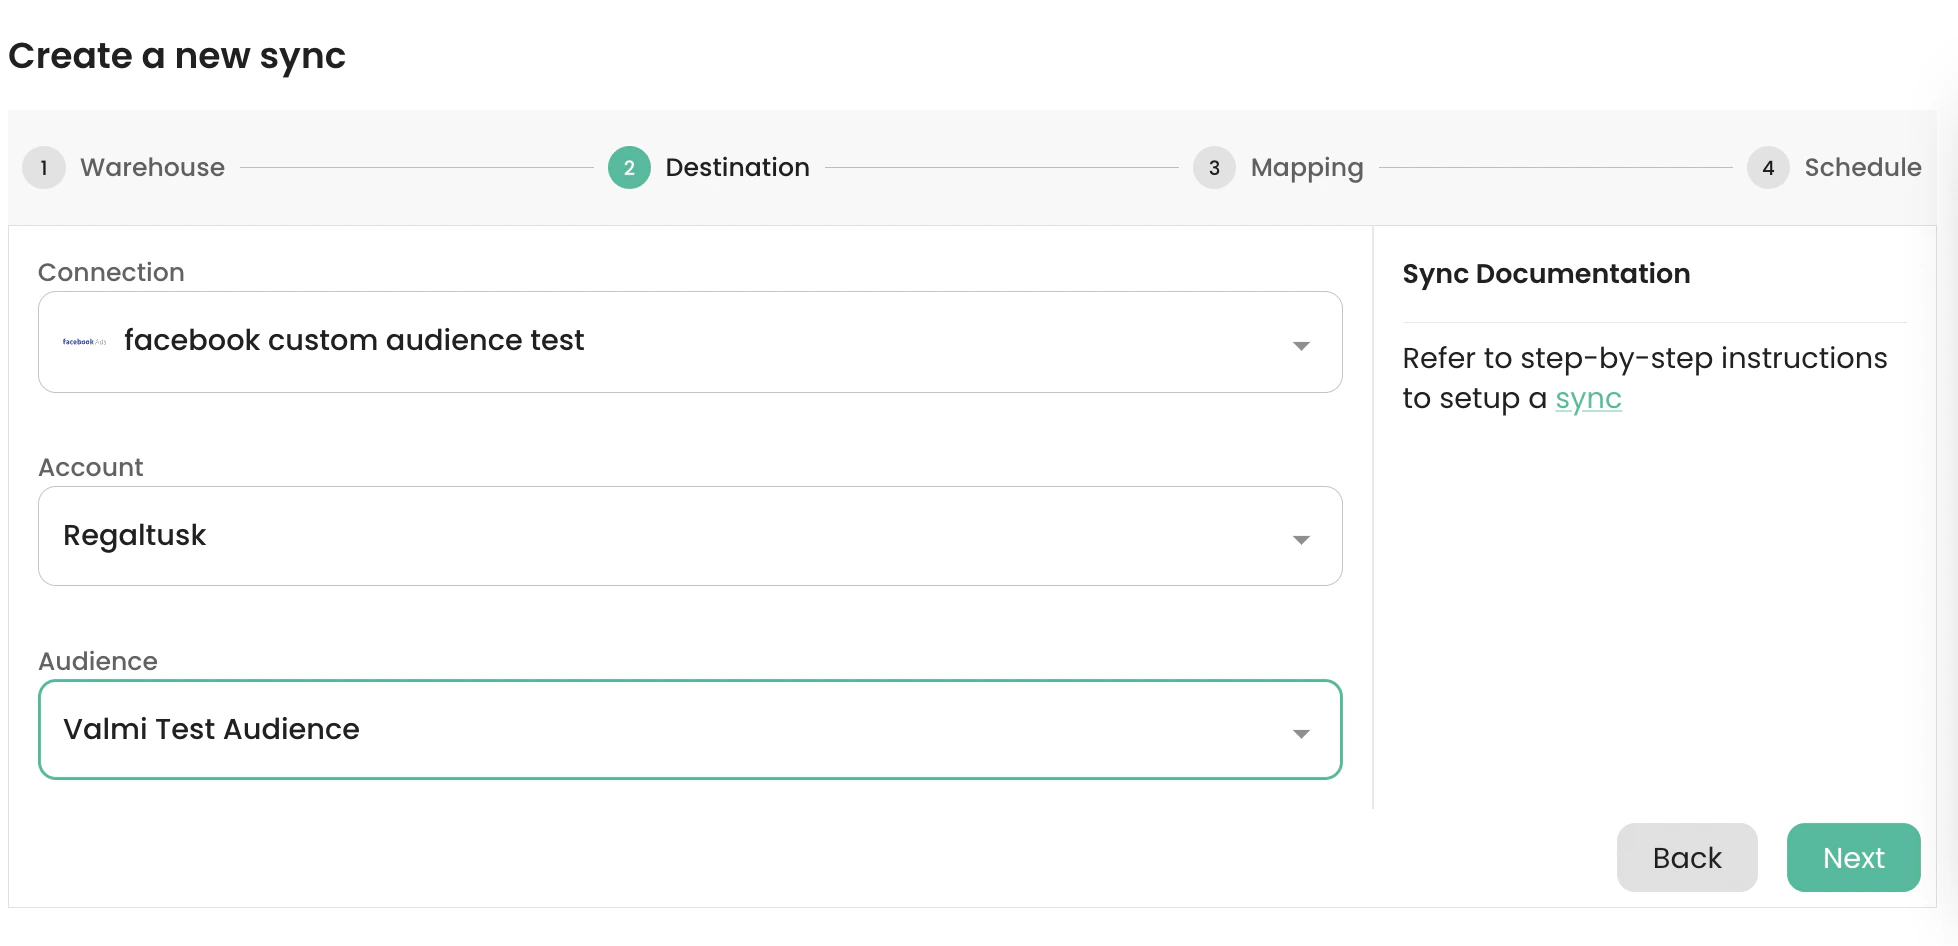
Regaltusk Ad account and Valmi Test Audience custom audience we have created earlier in this guide.
Mirror destination sync mode. email has been selected as the Primary Key for the Warehouse source. The source fields first_name, last_name, country have been mapped to the predefined destination fields FN, LN, COUNTRY respectively.
-
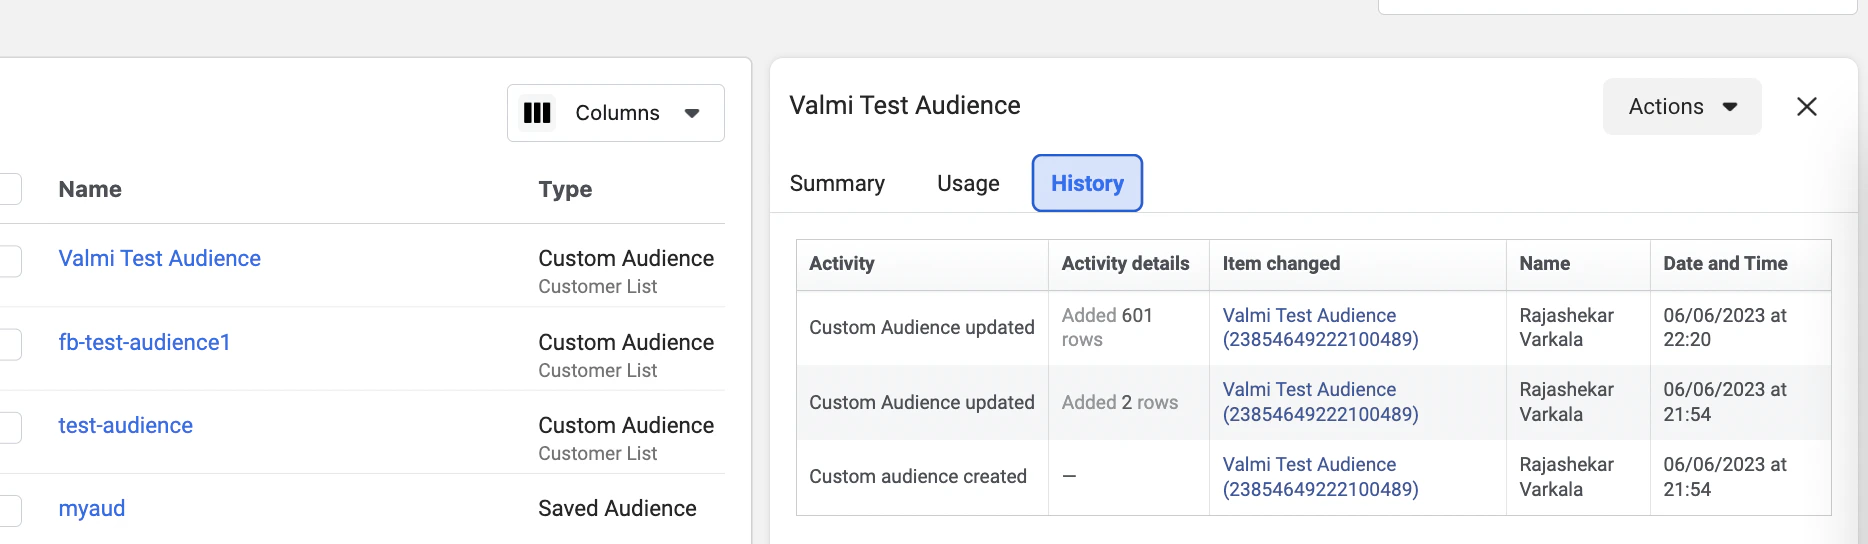
Verifying data loaded into Facebook Ads Manager