Customize Invoices and Taxes
This guide walks you through configuring tax rates for your customers, customizing invoice templates to match your brand, and generating invoices. You’ll set up taxes, create a custom invoice template using markdown, and learn how to view and manage generated invoices.Configure Tax Rates
Navigate to Billing > Taxes in the left sidebar. This page shows all tax configurations for your accounts and subscriptions.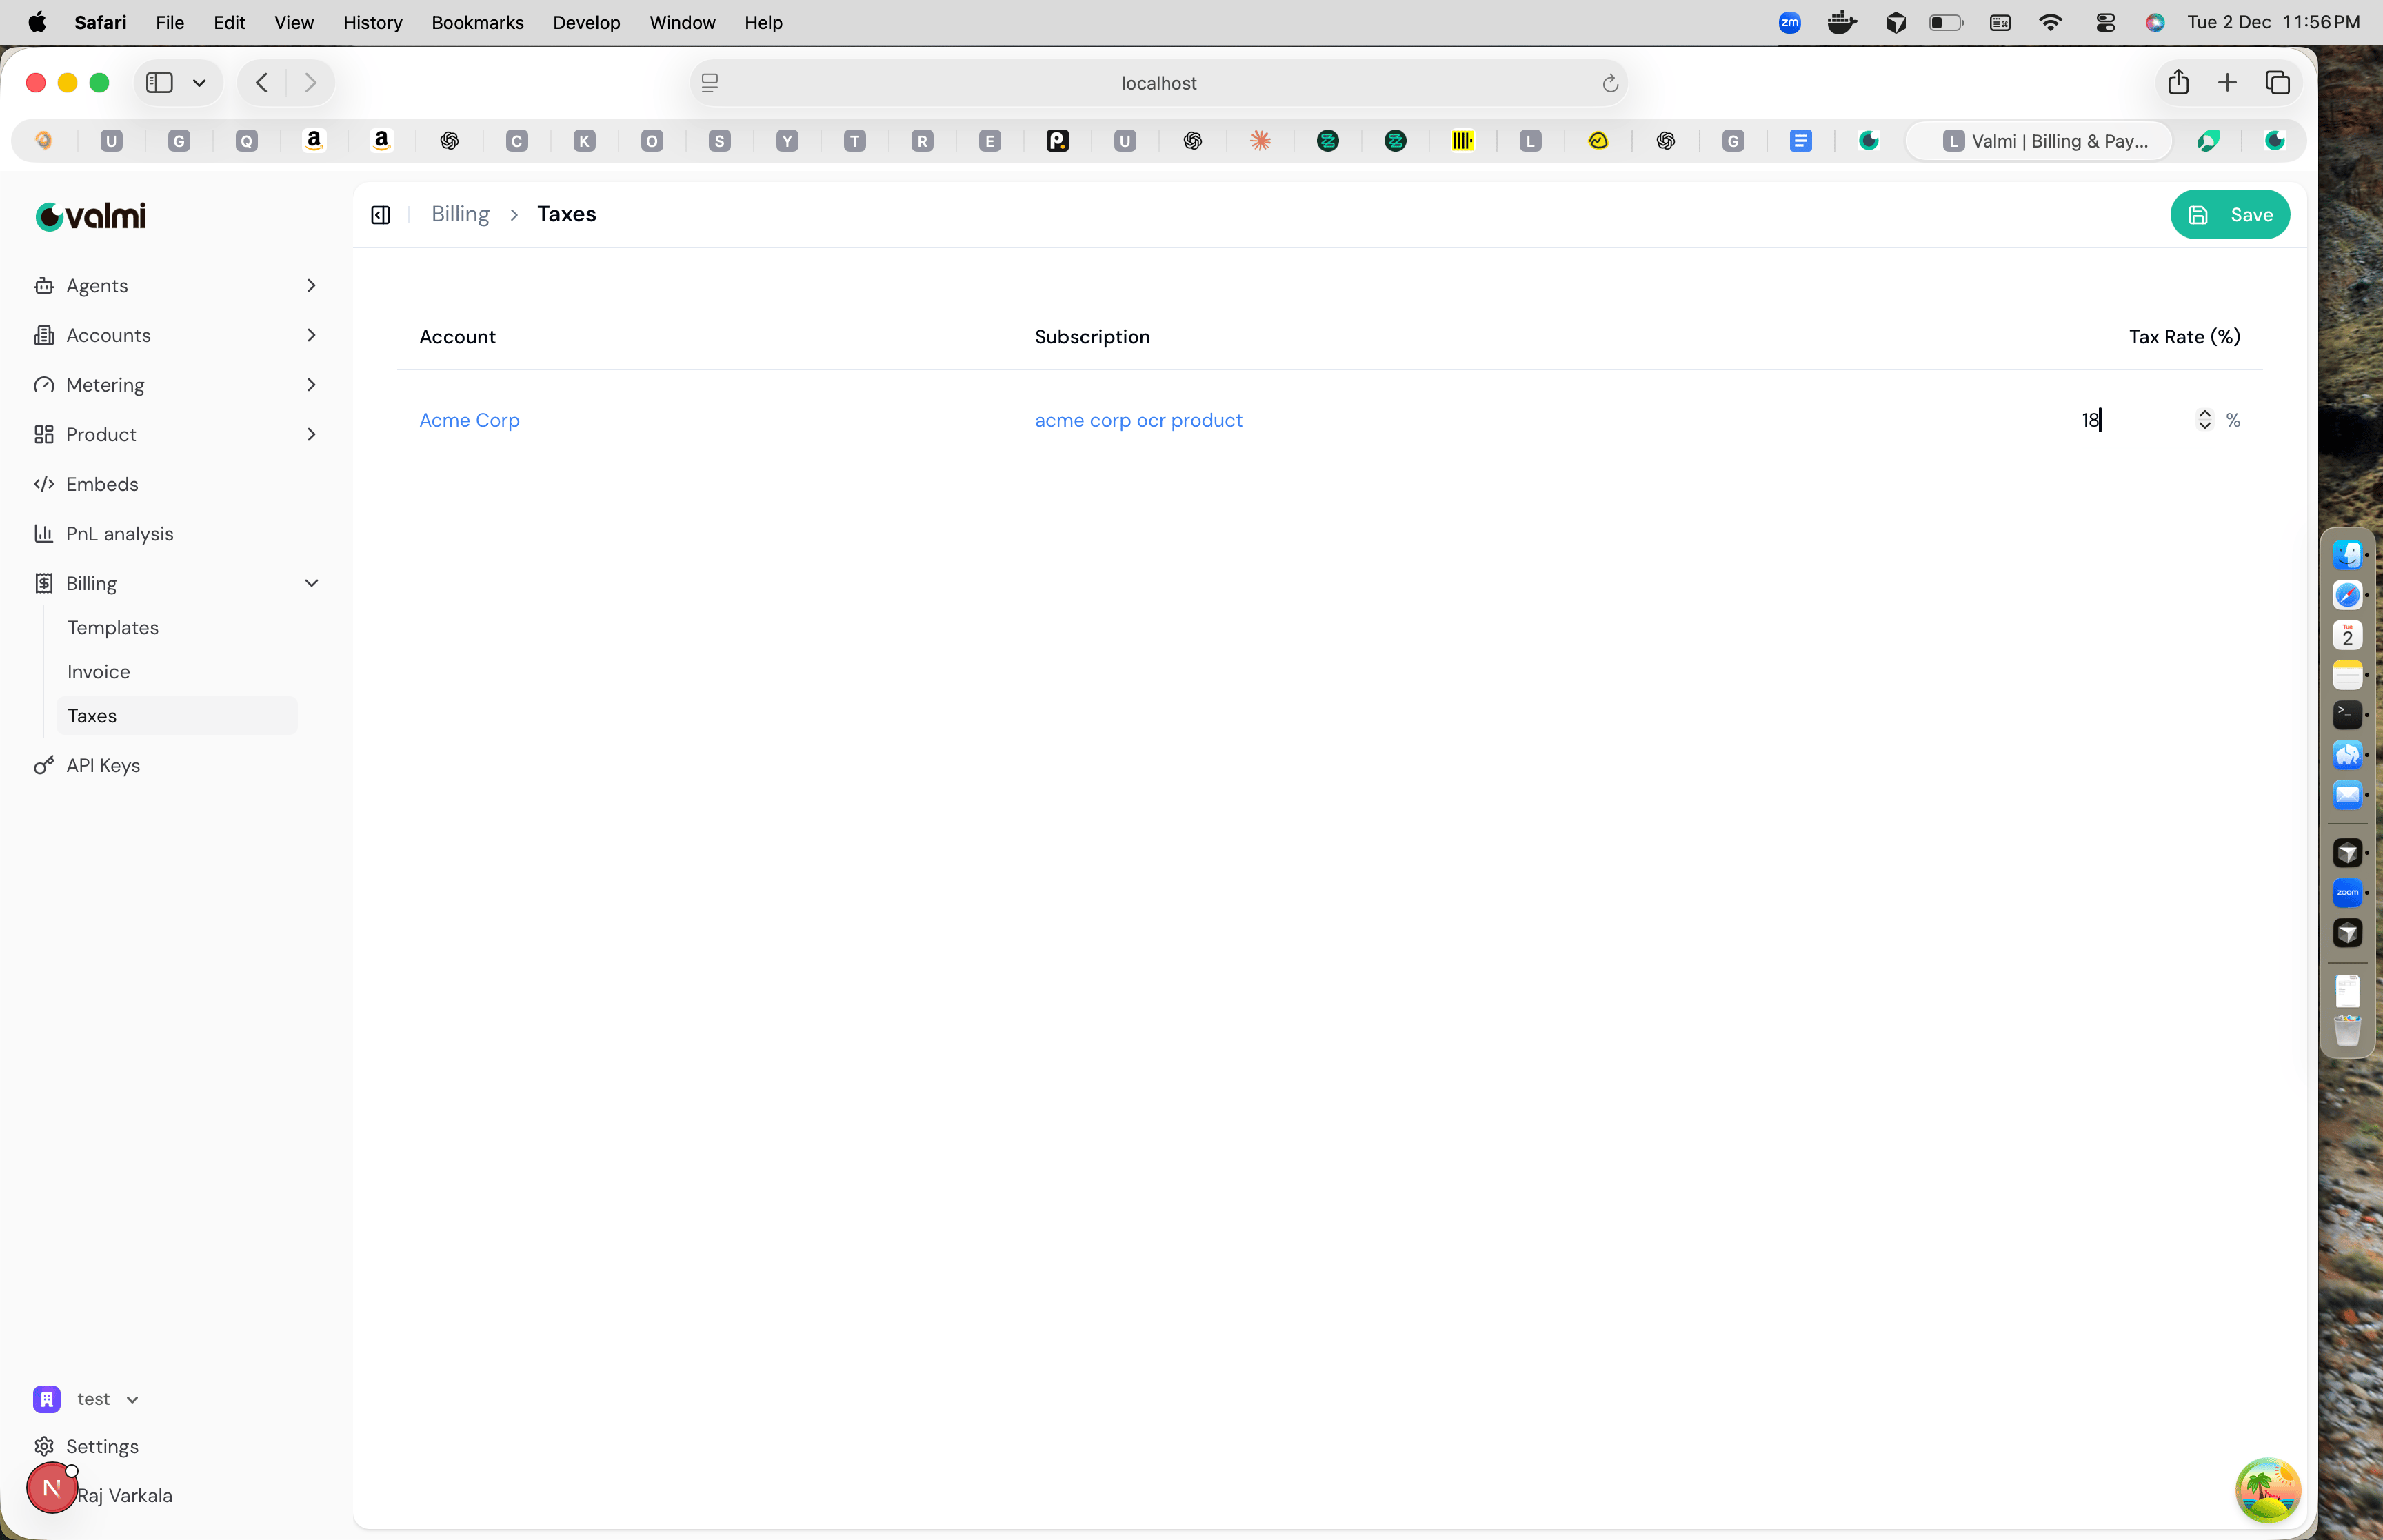
Customize Invoice Templates
Navigate to Billing > Templates to create or edit invoice templates. Invoice templates use markdown format, making it easy to customize the layout and styling of your invoices. Click Create Template or edit an existing template. The template editor is split into two panels: the left side shows the markdown editor, and the right side shows a live preview of how the invoice will look.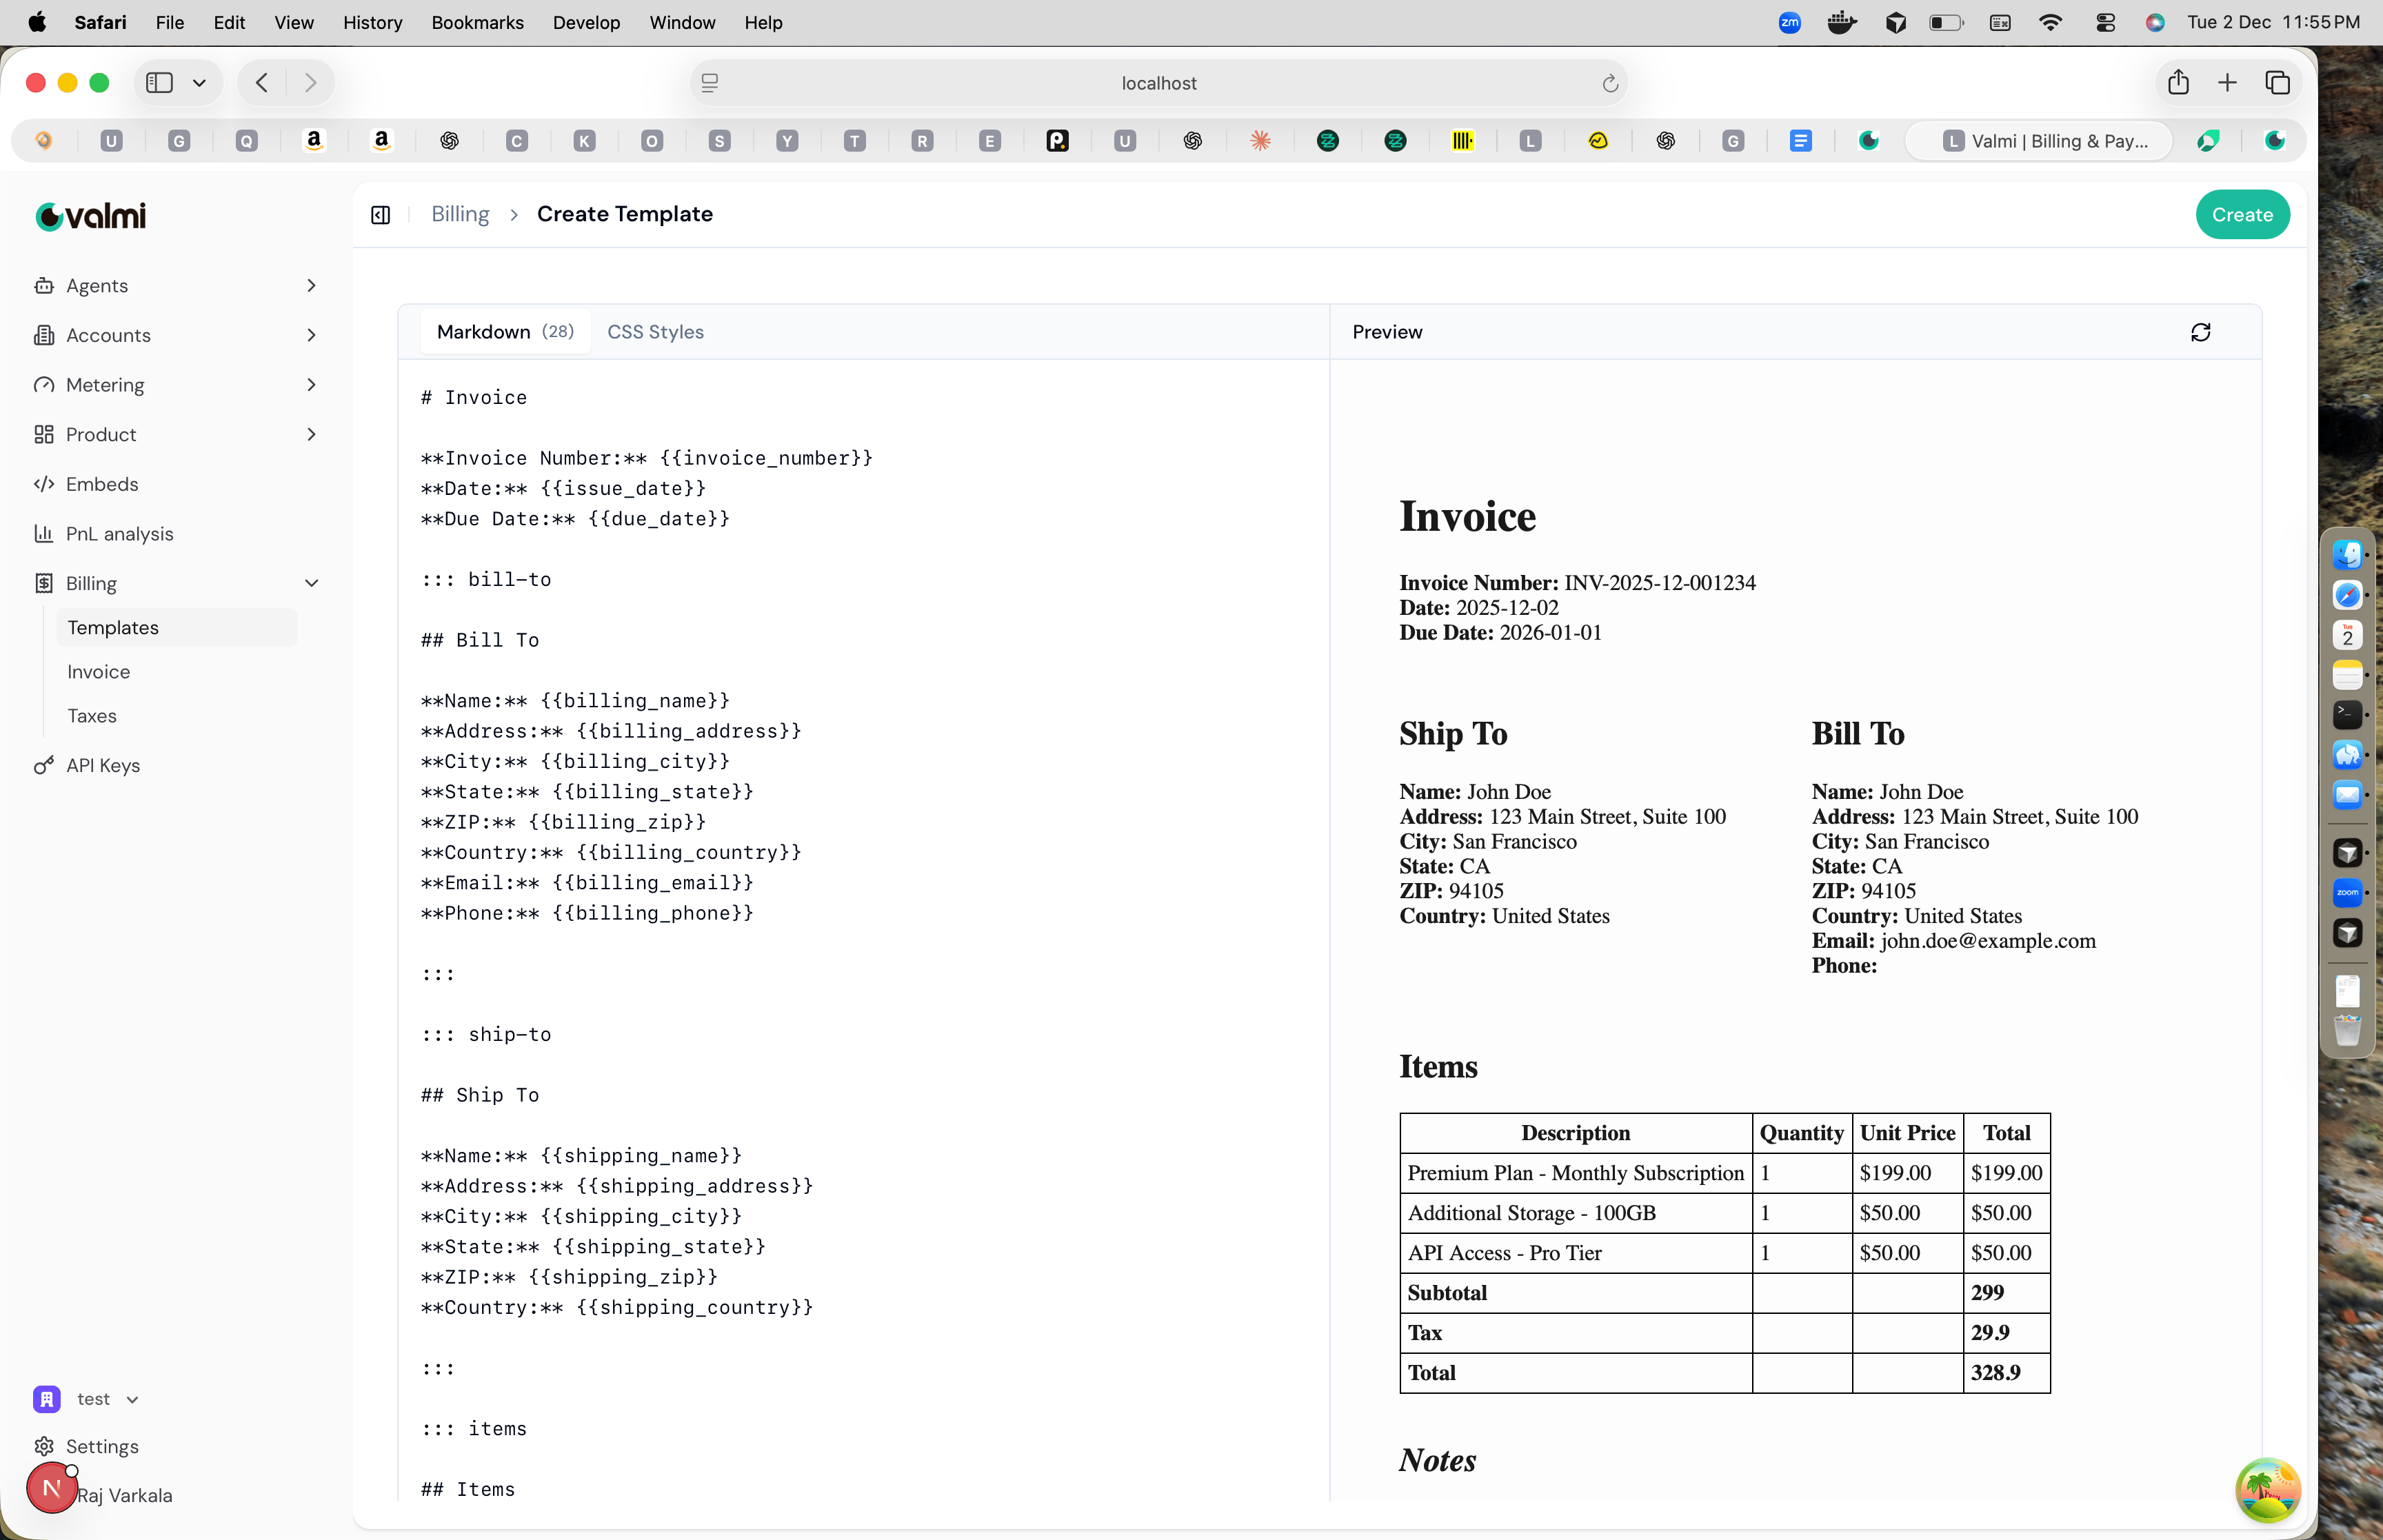
{{invoice_number}}, {{billing_name}}, {{issue_date}}, and {{due_date}} to insert dynamic data into your invoices.
You can also use custom block delimiters like ::: bill-to and ::: ship-to to create sections for billing and shipping addresses. The ::: items block is used for the line items table. As you type in the markdown editor, the preview panel updates in real-time to show how the invoice will appear with sample data.
Once you’re satisfied with your template, click Create to save it. The template will be used when generating invoices.
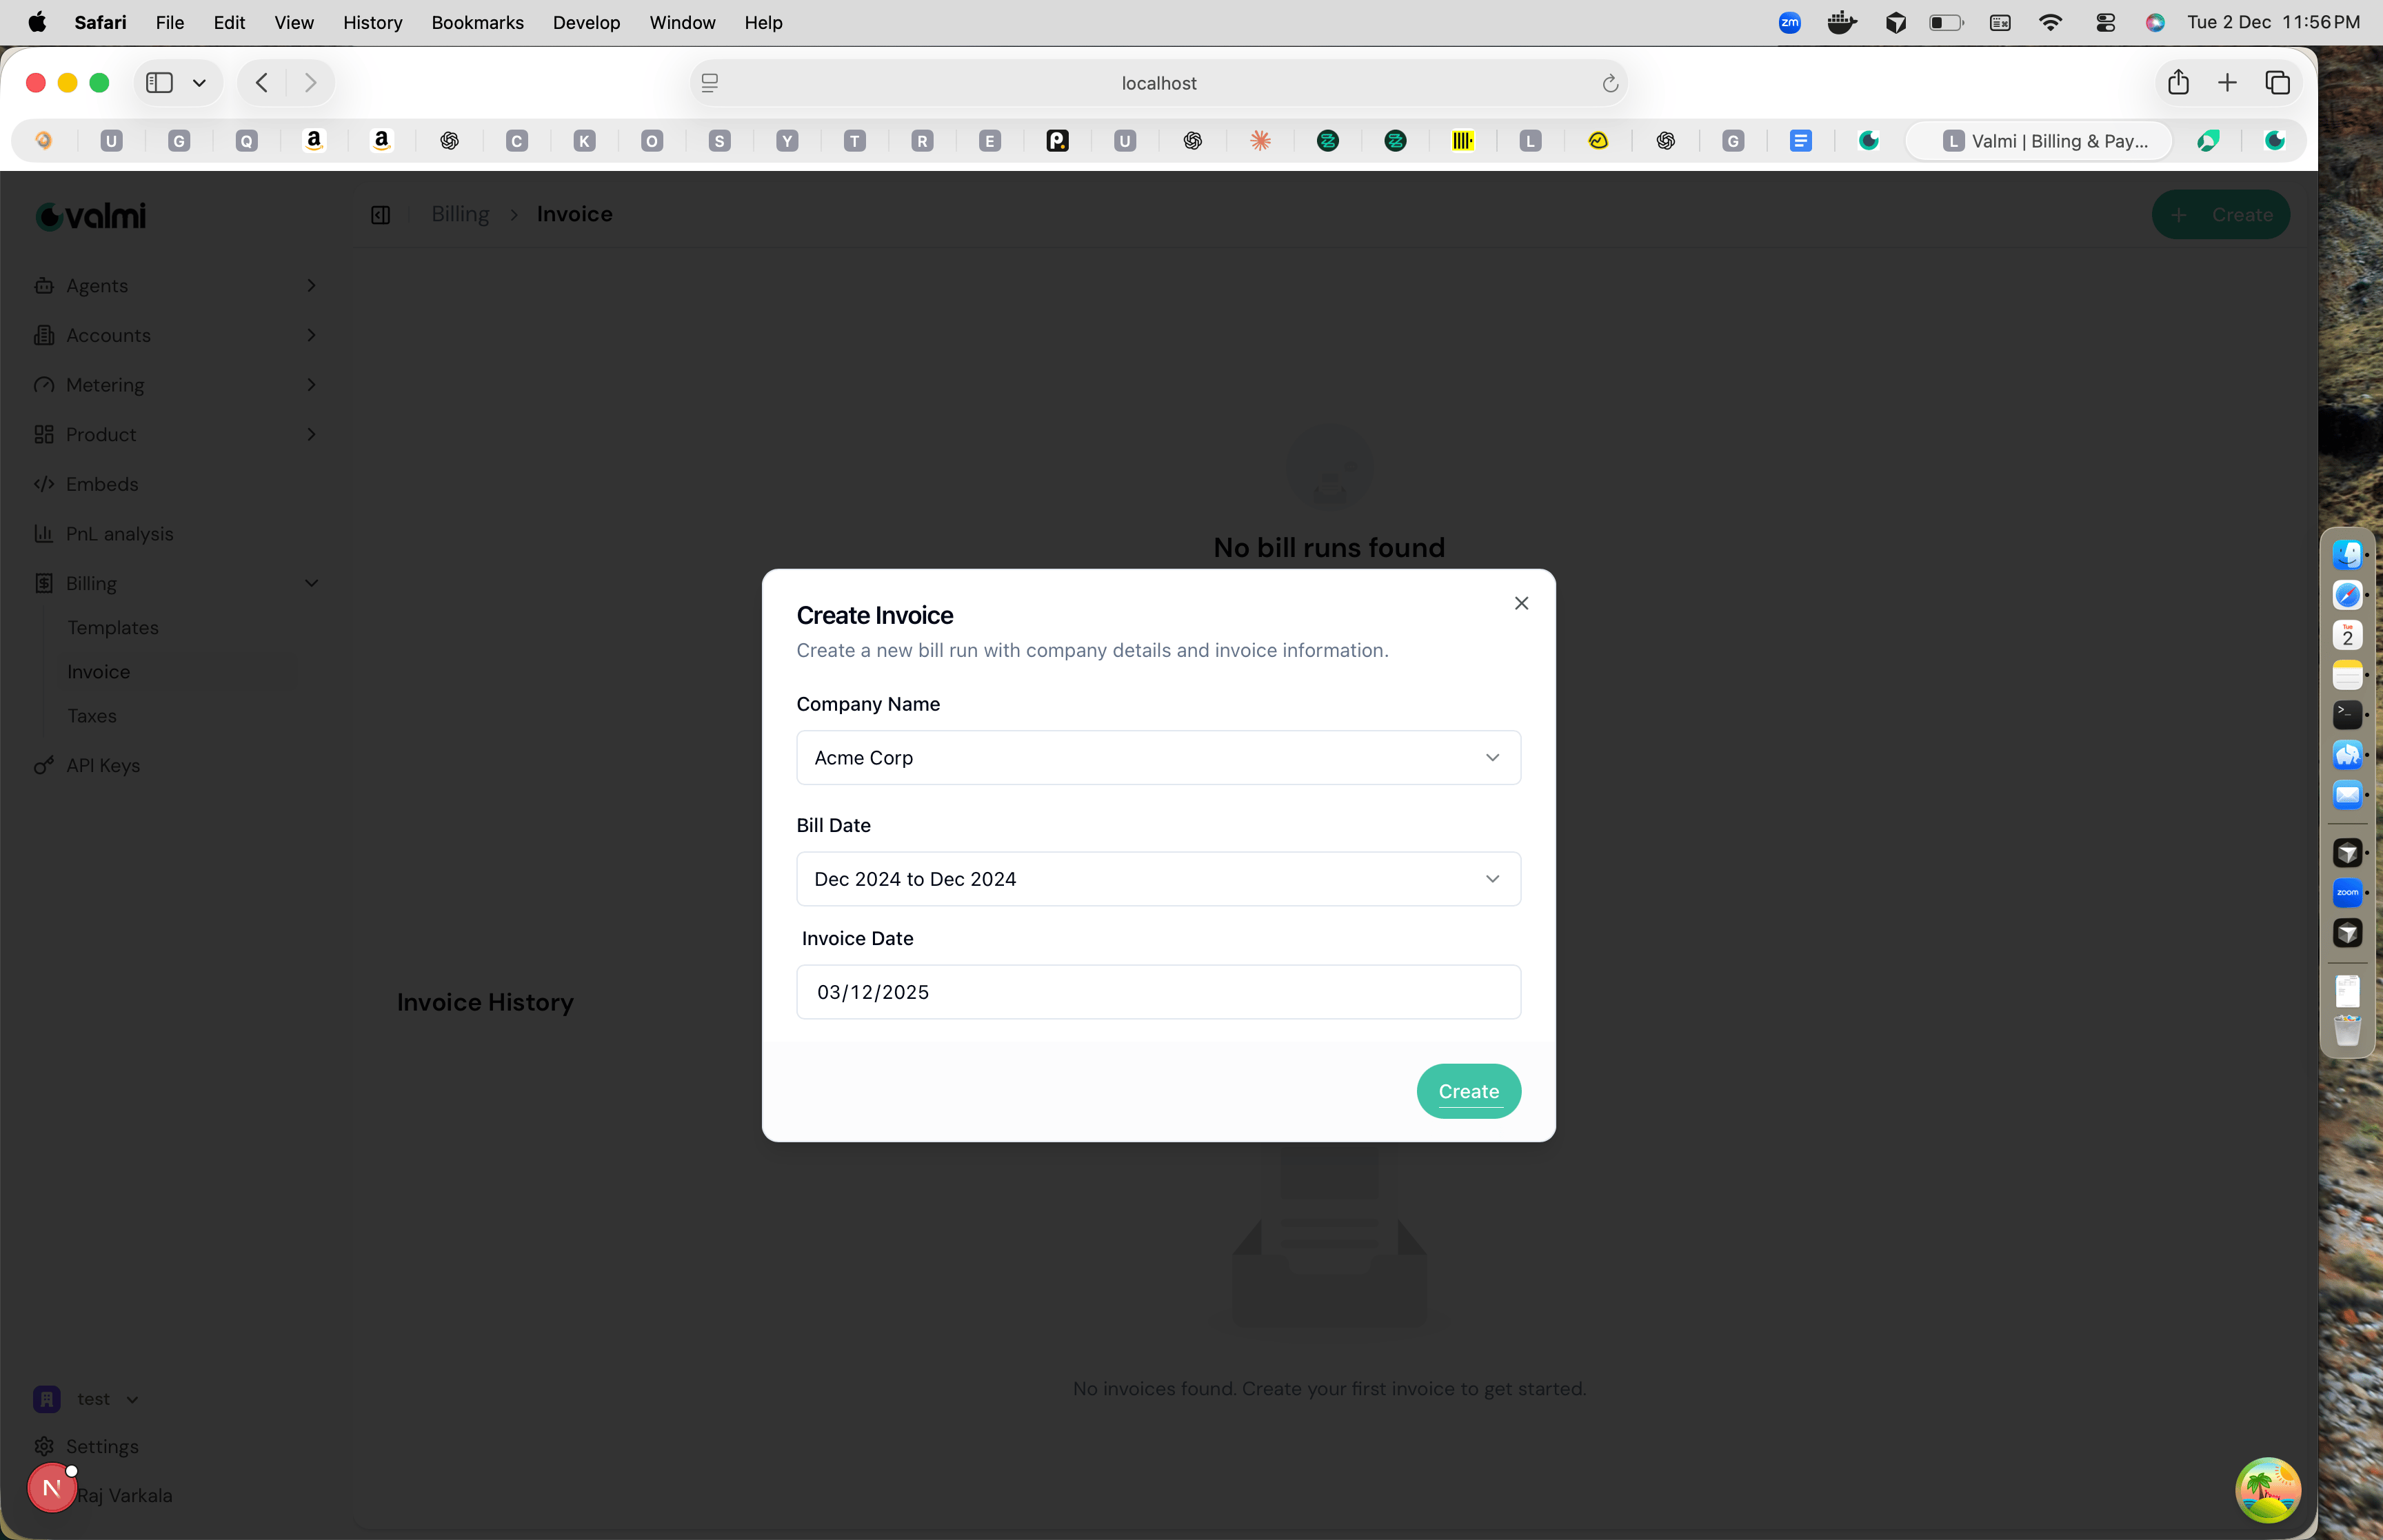
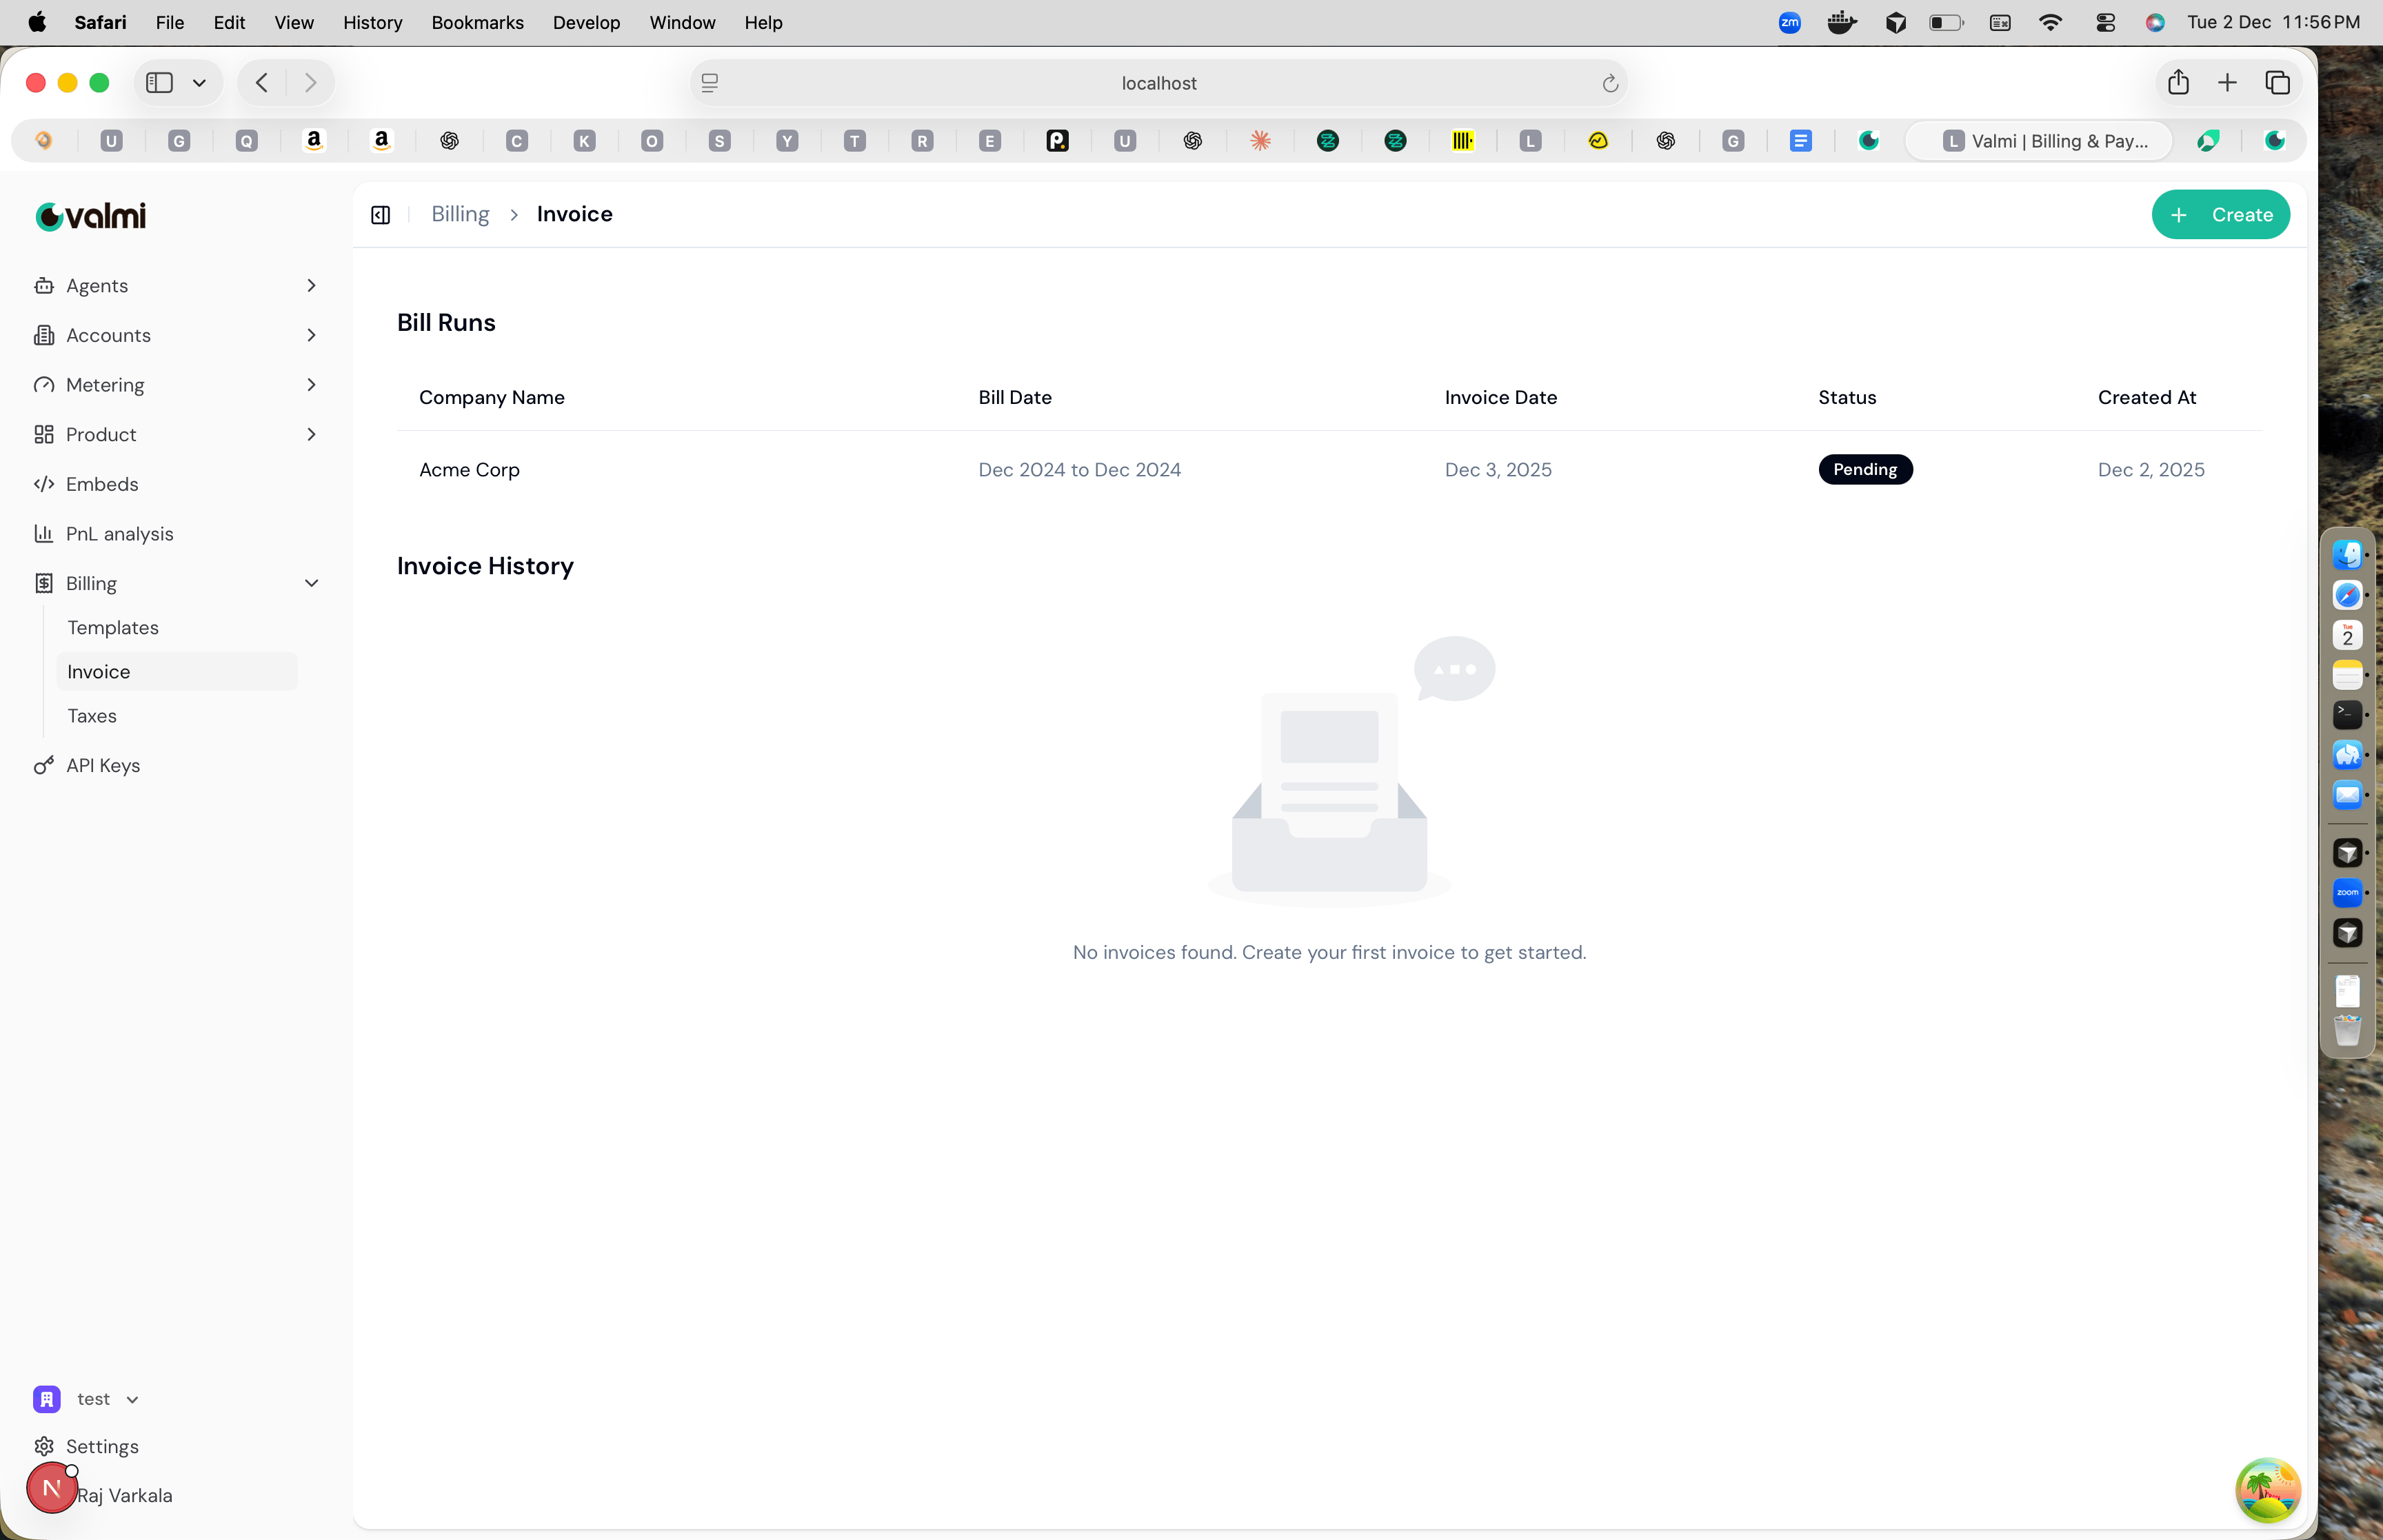
Generate and View Invoices
Navigate to Billing > Invoice to view bill runs and invoice history. A bill run is a process that generates invoices for a specific billing period. To create a new bill run, click the ”+ Create” button in the top right. A modal will open where you can configure the bill run details.