Setting Up Google Sheets for OAuth
Step 1: Create a Google Project
- Sign in to Google Cloud Console: Visit the Google Cloud Console and sign in using your Google account credentials.
- Create New Project: Click on “Select a project” > “New Project”.
- Enter Project Details: Provide a name for your project (e.g., “valmi-io”) and click “Create”.
- Enable Sheets API: In the dashboard, navigate to “APIs & Services” > “Library”. Search for “Google Sheets API” and enable it for your project.
Step 2: Configure OAuth Consent Screen
- OAuth Consent Screen: In the Google Cloud Console, navigate to “APIs & Services” > “OAuth consent screen”.
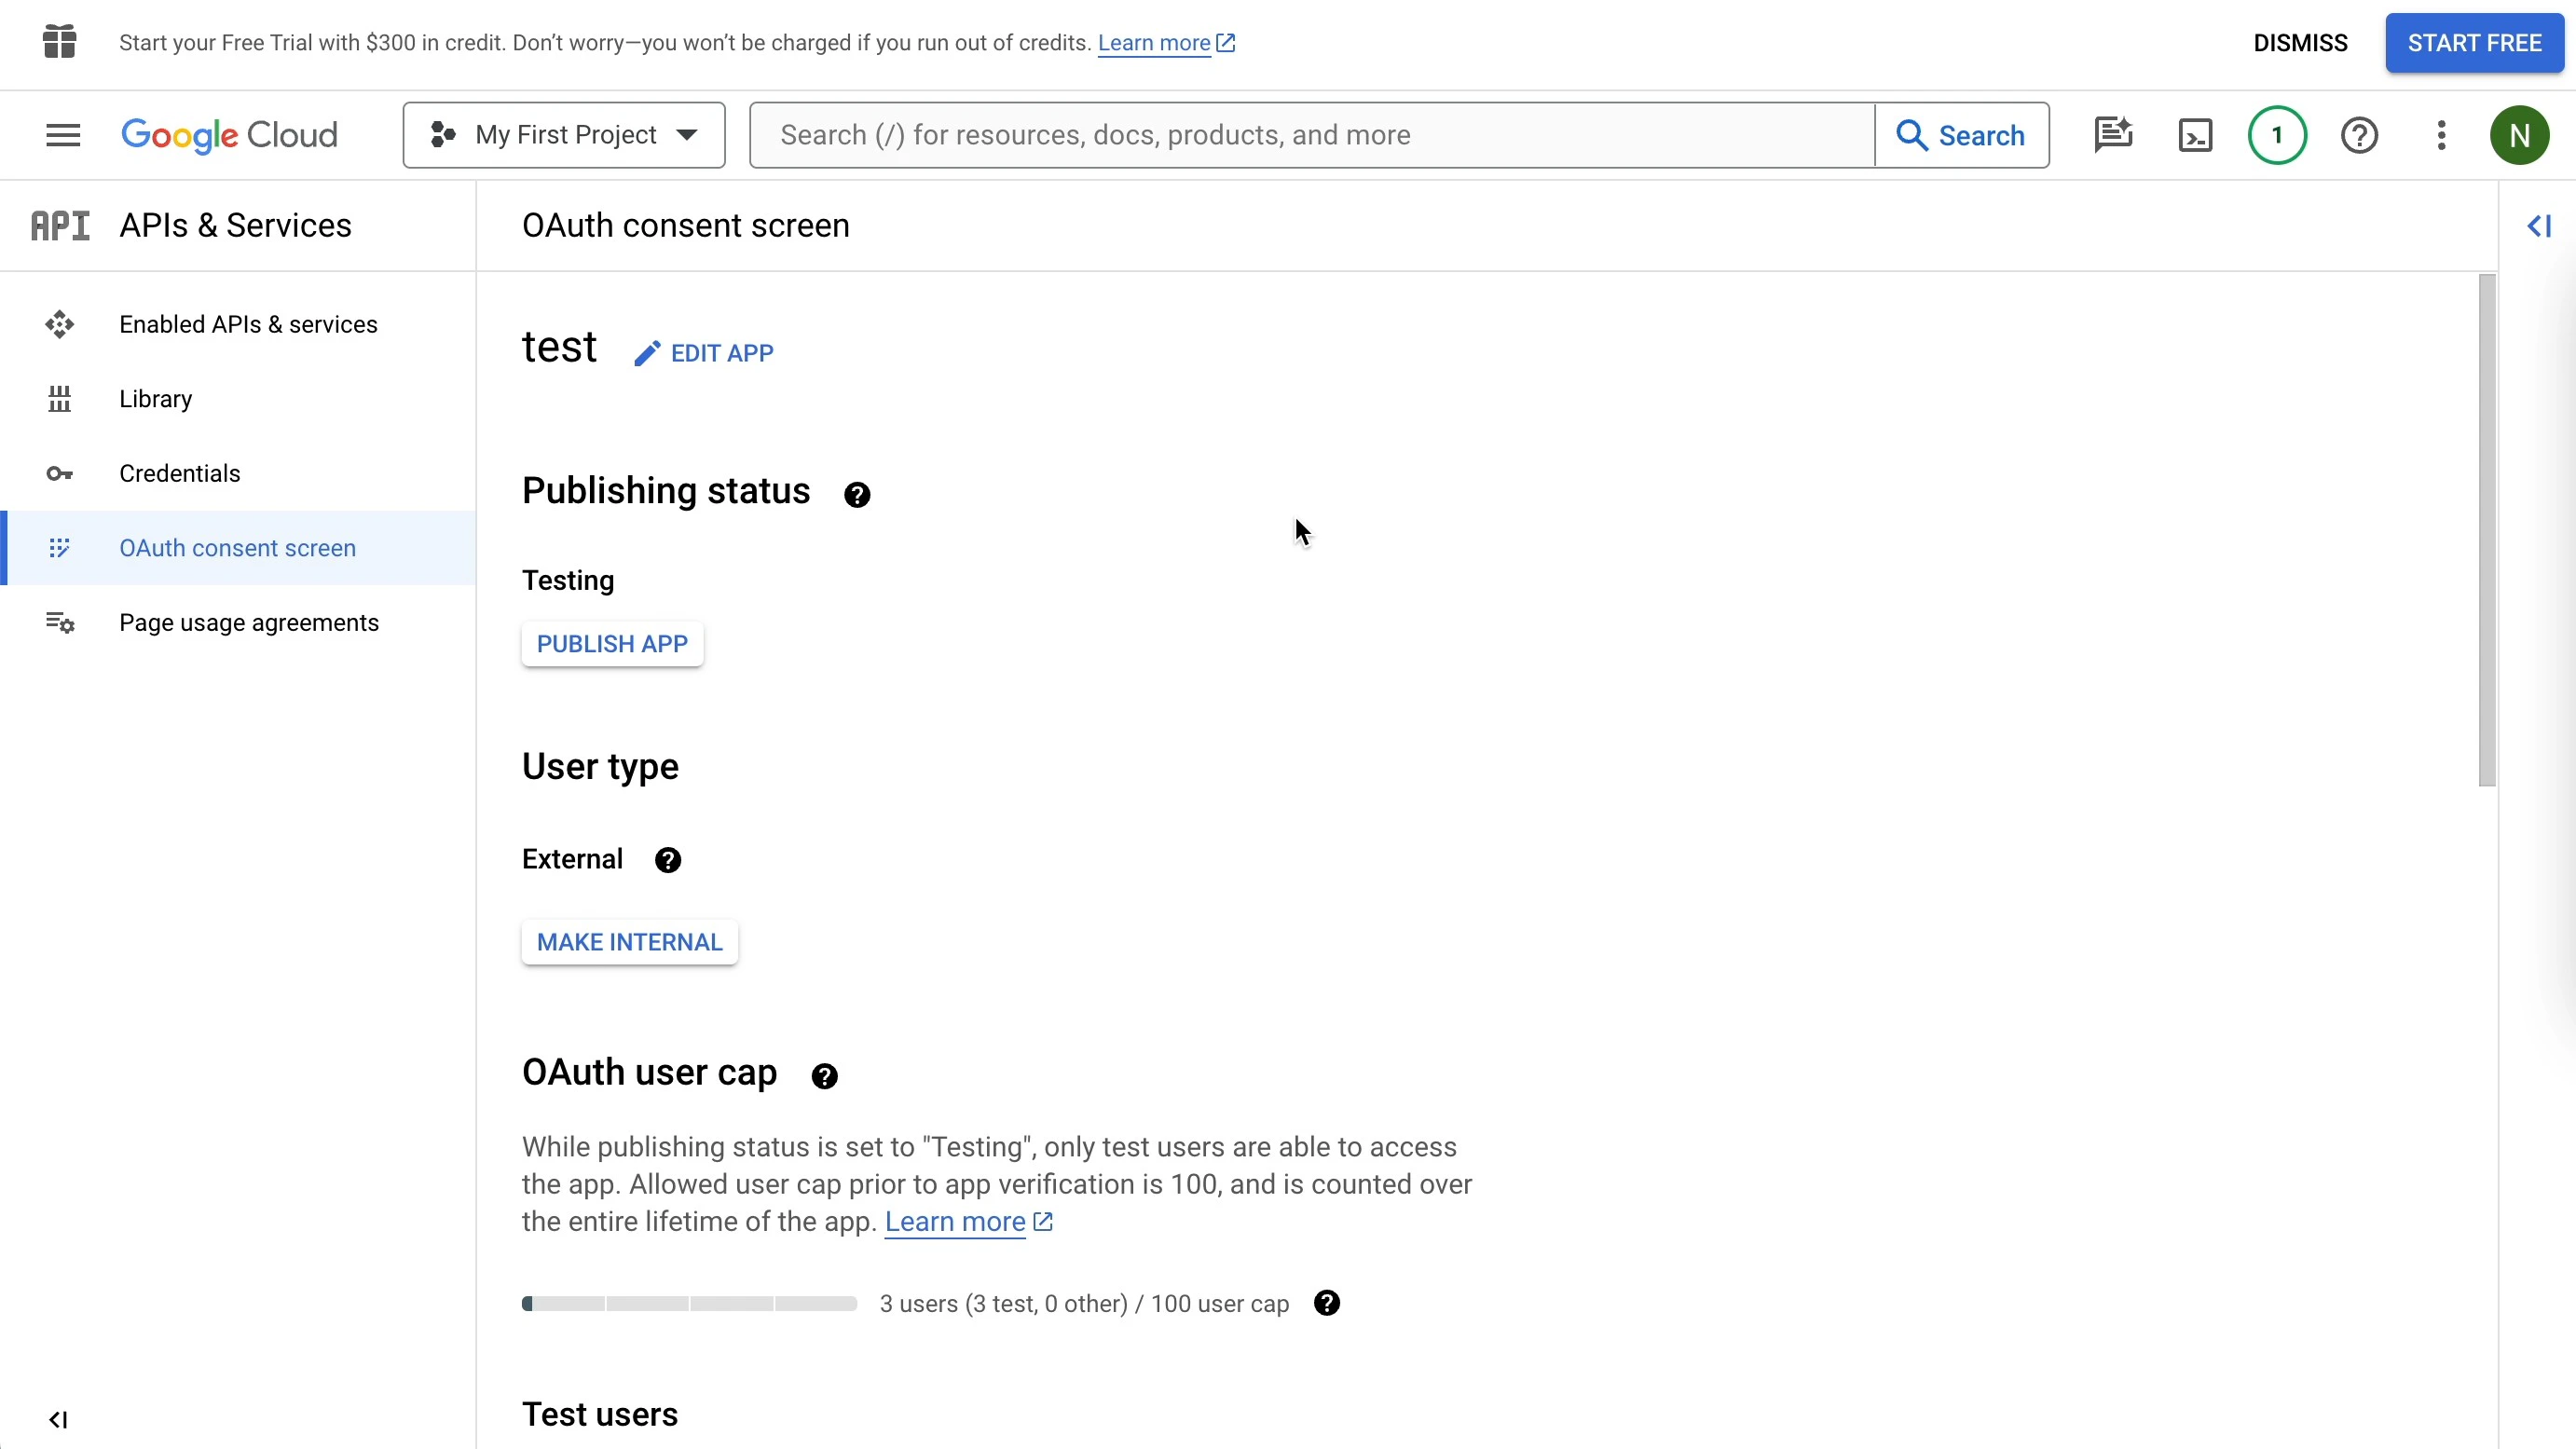
- User Type: Choose the appropriate user type for your application (Internal or External).
- Application Name: Enter the name of your application (e.g., “valmi.io”).
- Scopes: Add the required OAuth scopes for your integration:
https://www.googleapis.com/auth/userinfo.profilehttps://www.googleapis.com/auth/userinfo.emailhttps://www.googleapis.com/auth/spreadsheets
- Authorized Domains: Add your application’s domain to the authorized domains list.
- Save: Click “Save” to save the OAuth consent screen settings.
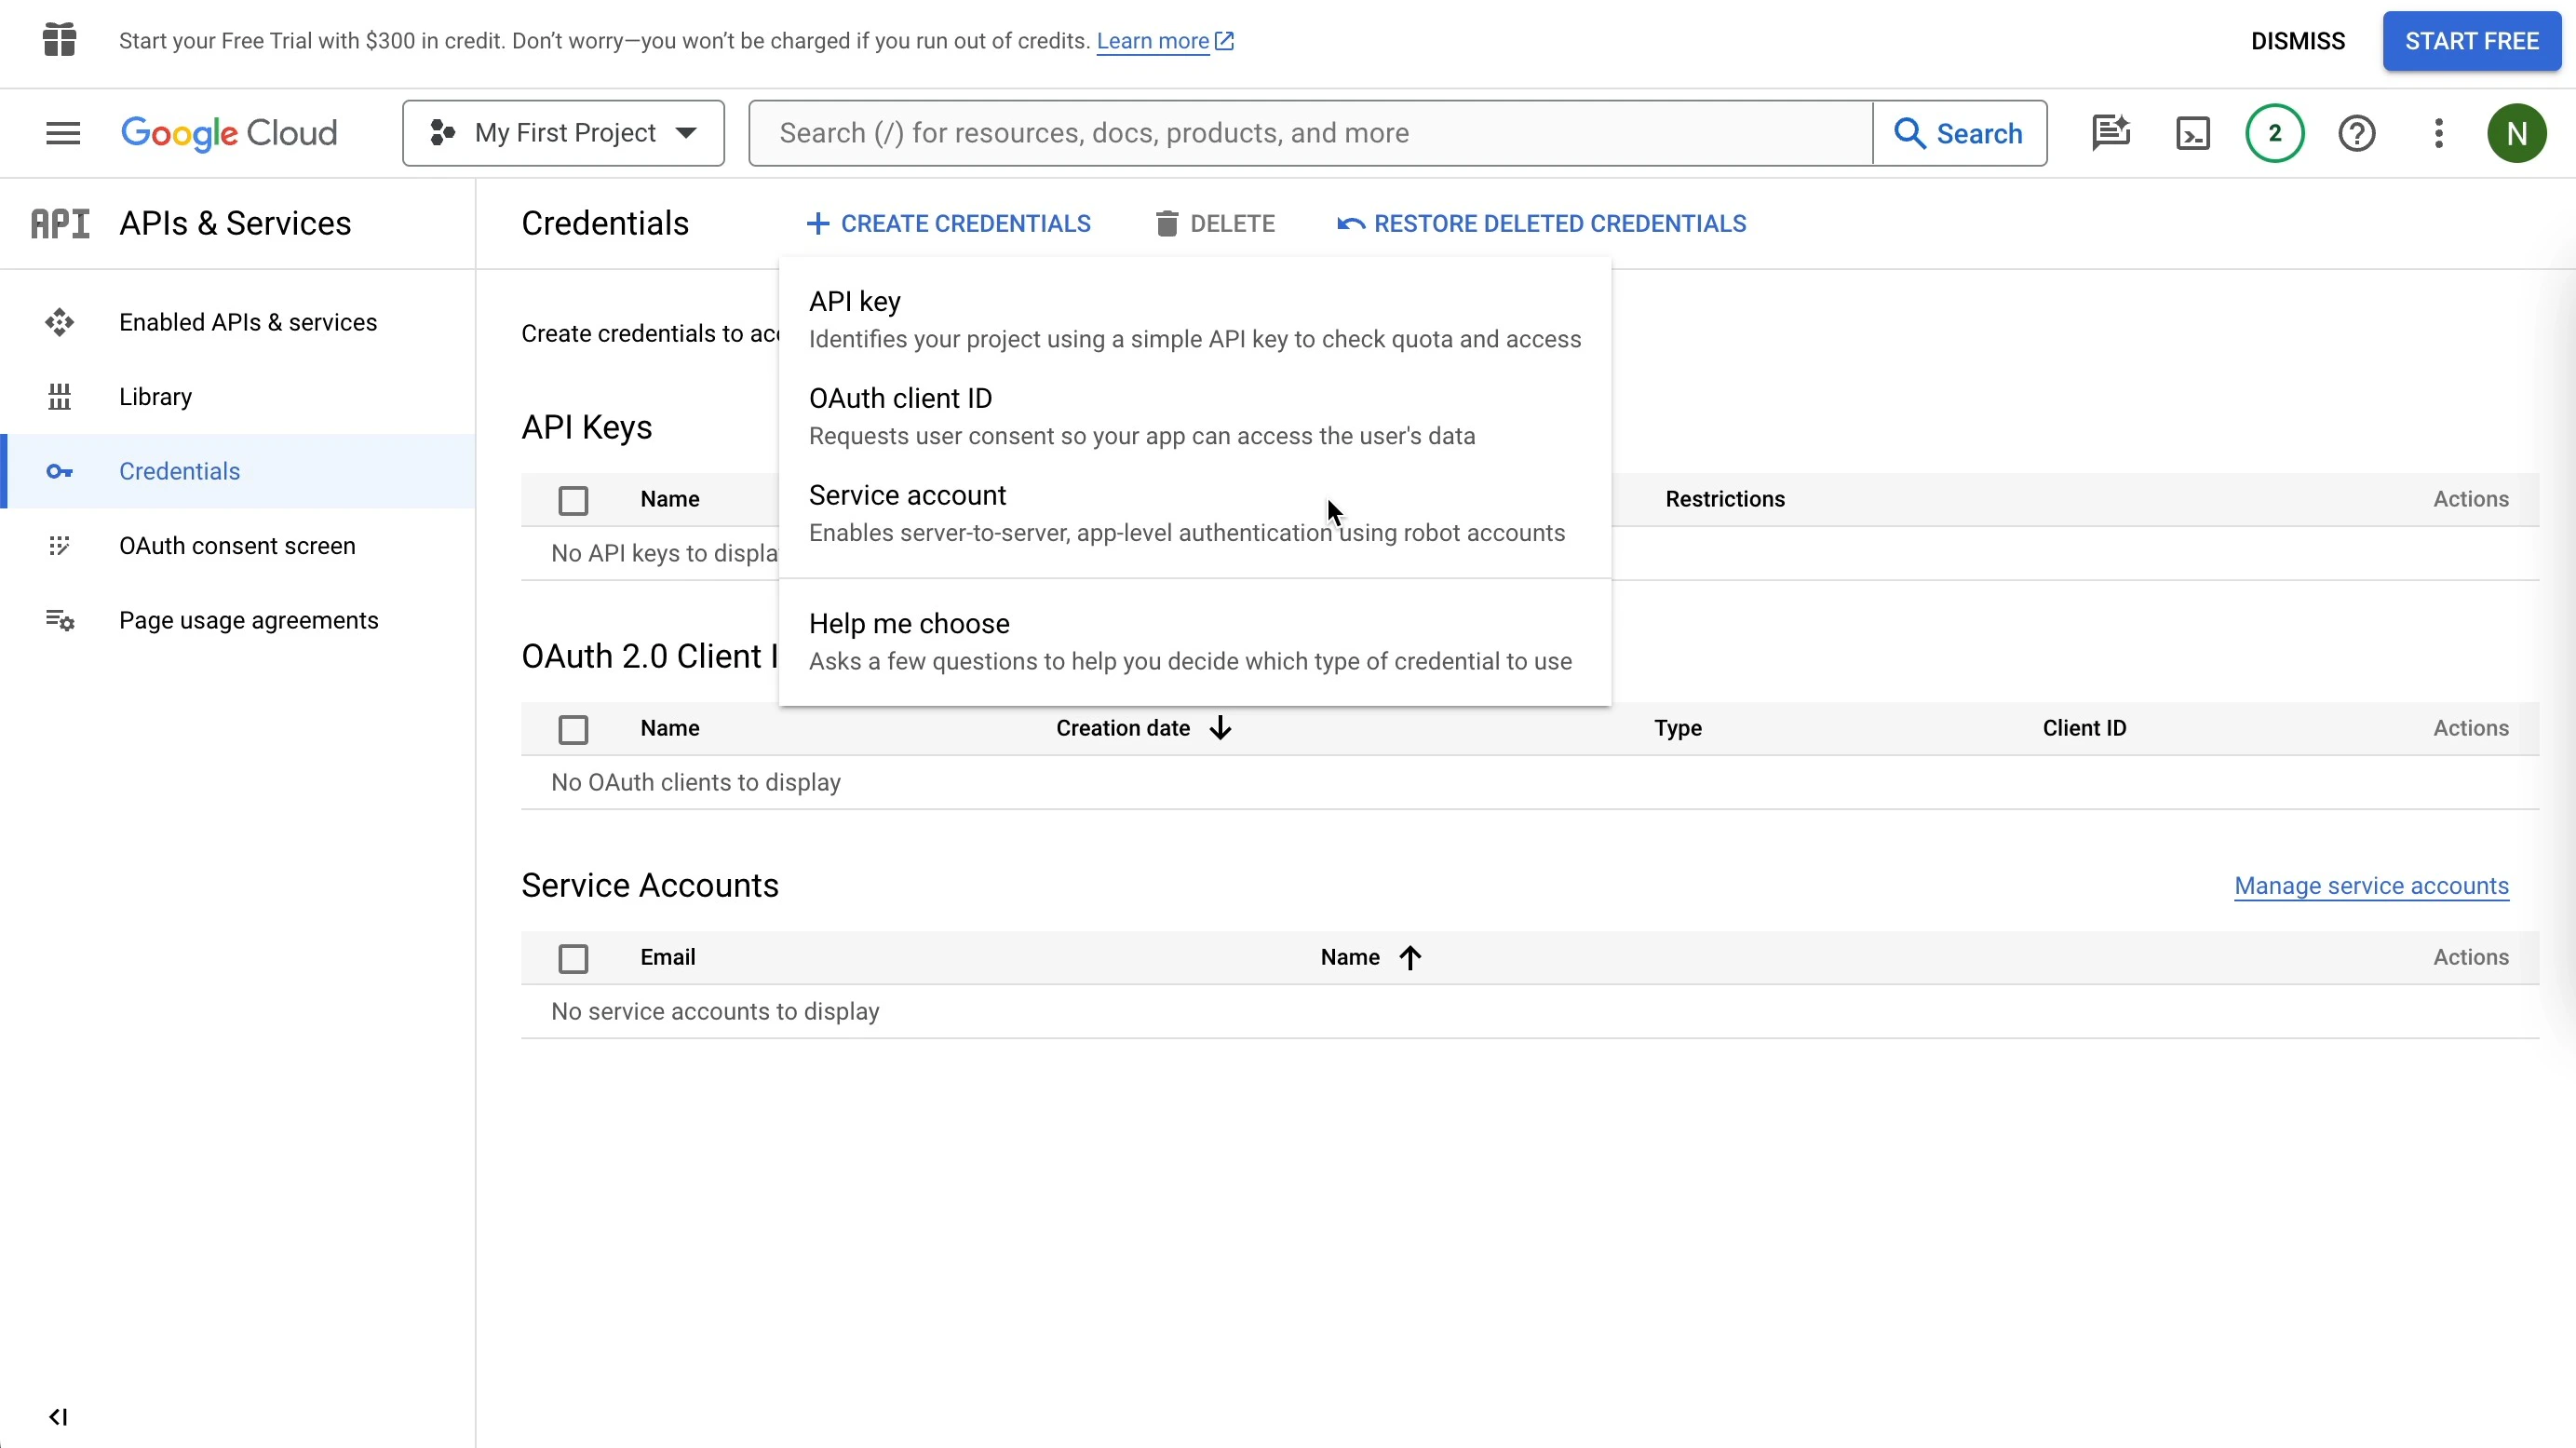
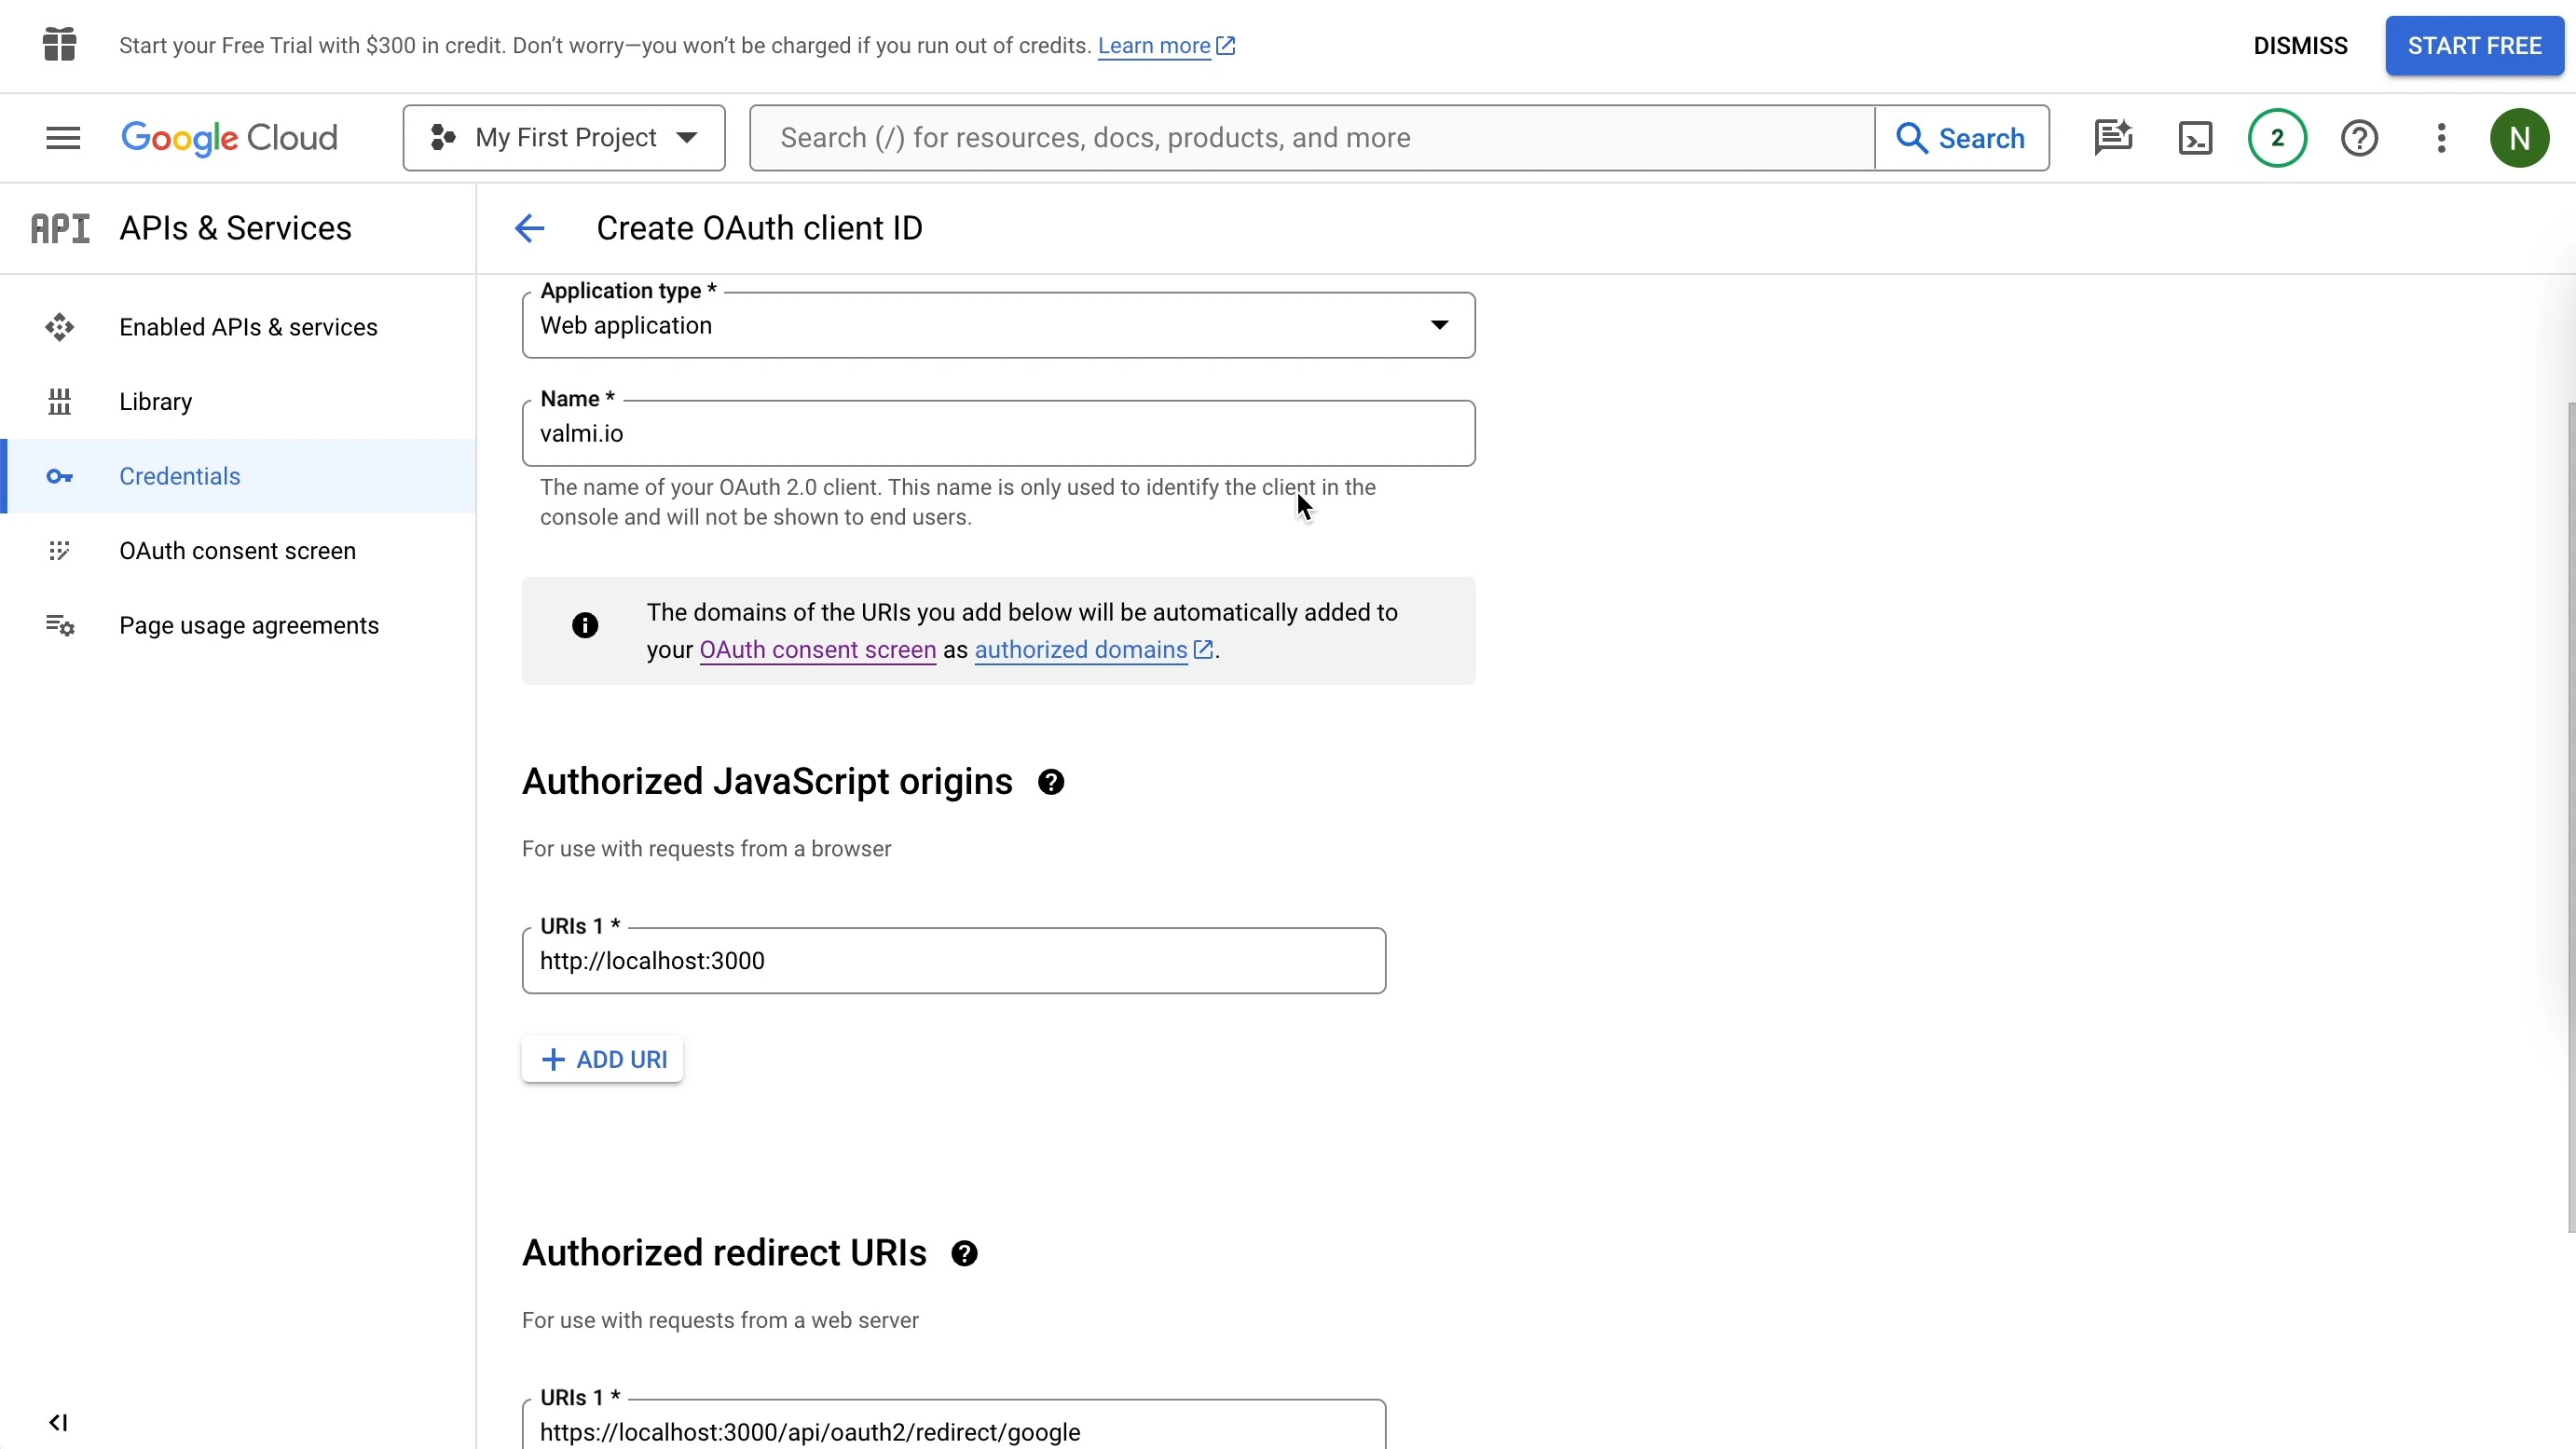
Step 3: Create OAuth Client ID
- Credentials: In the Google Cloud Console, navigate to “APIs & Services” > “Credentials”.
- Create Credentials: Click “Create credentials” > “OAuth client ID”.
- Application Type: Select “Web application” as the application type.
- Authorized Redirect URIs: Add the redirect URI where Google will send users after authorization. Use the following format:
https://your-host/api/oauth2/redirect/google.
- Save: Click “Save” to create the OAuth client ID.
- Copy Client ID and Client Secret: Your Client ID and Client Secret will be displayed. Copy them for use in valmi.io.
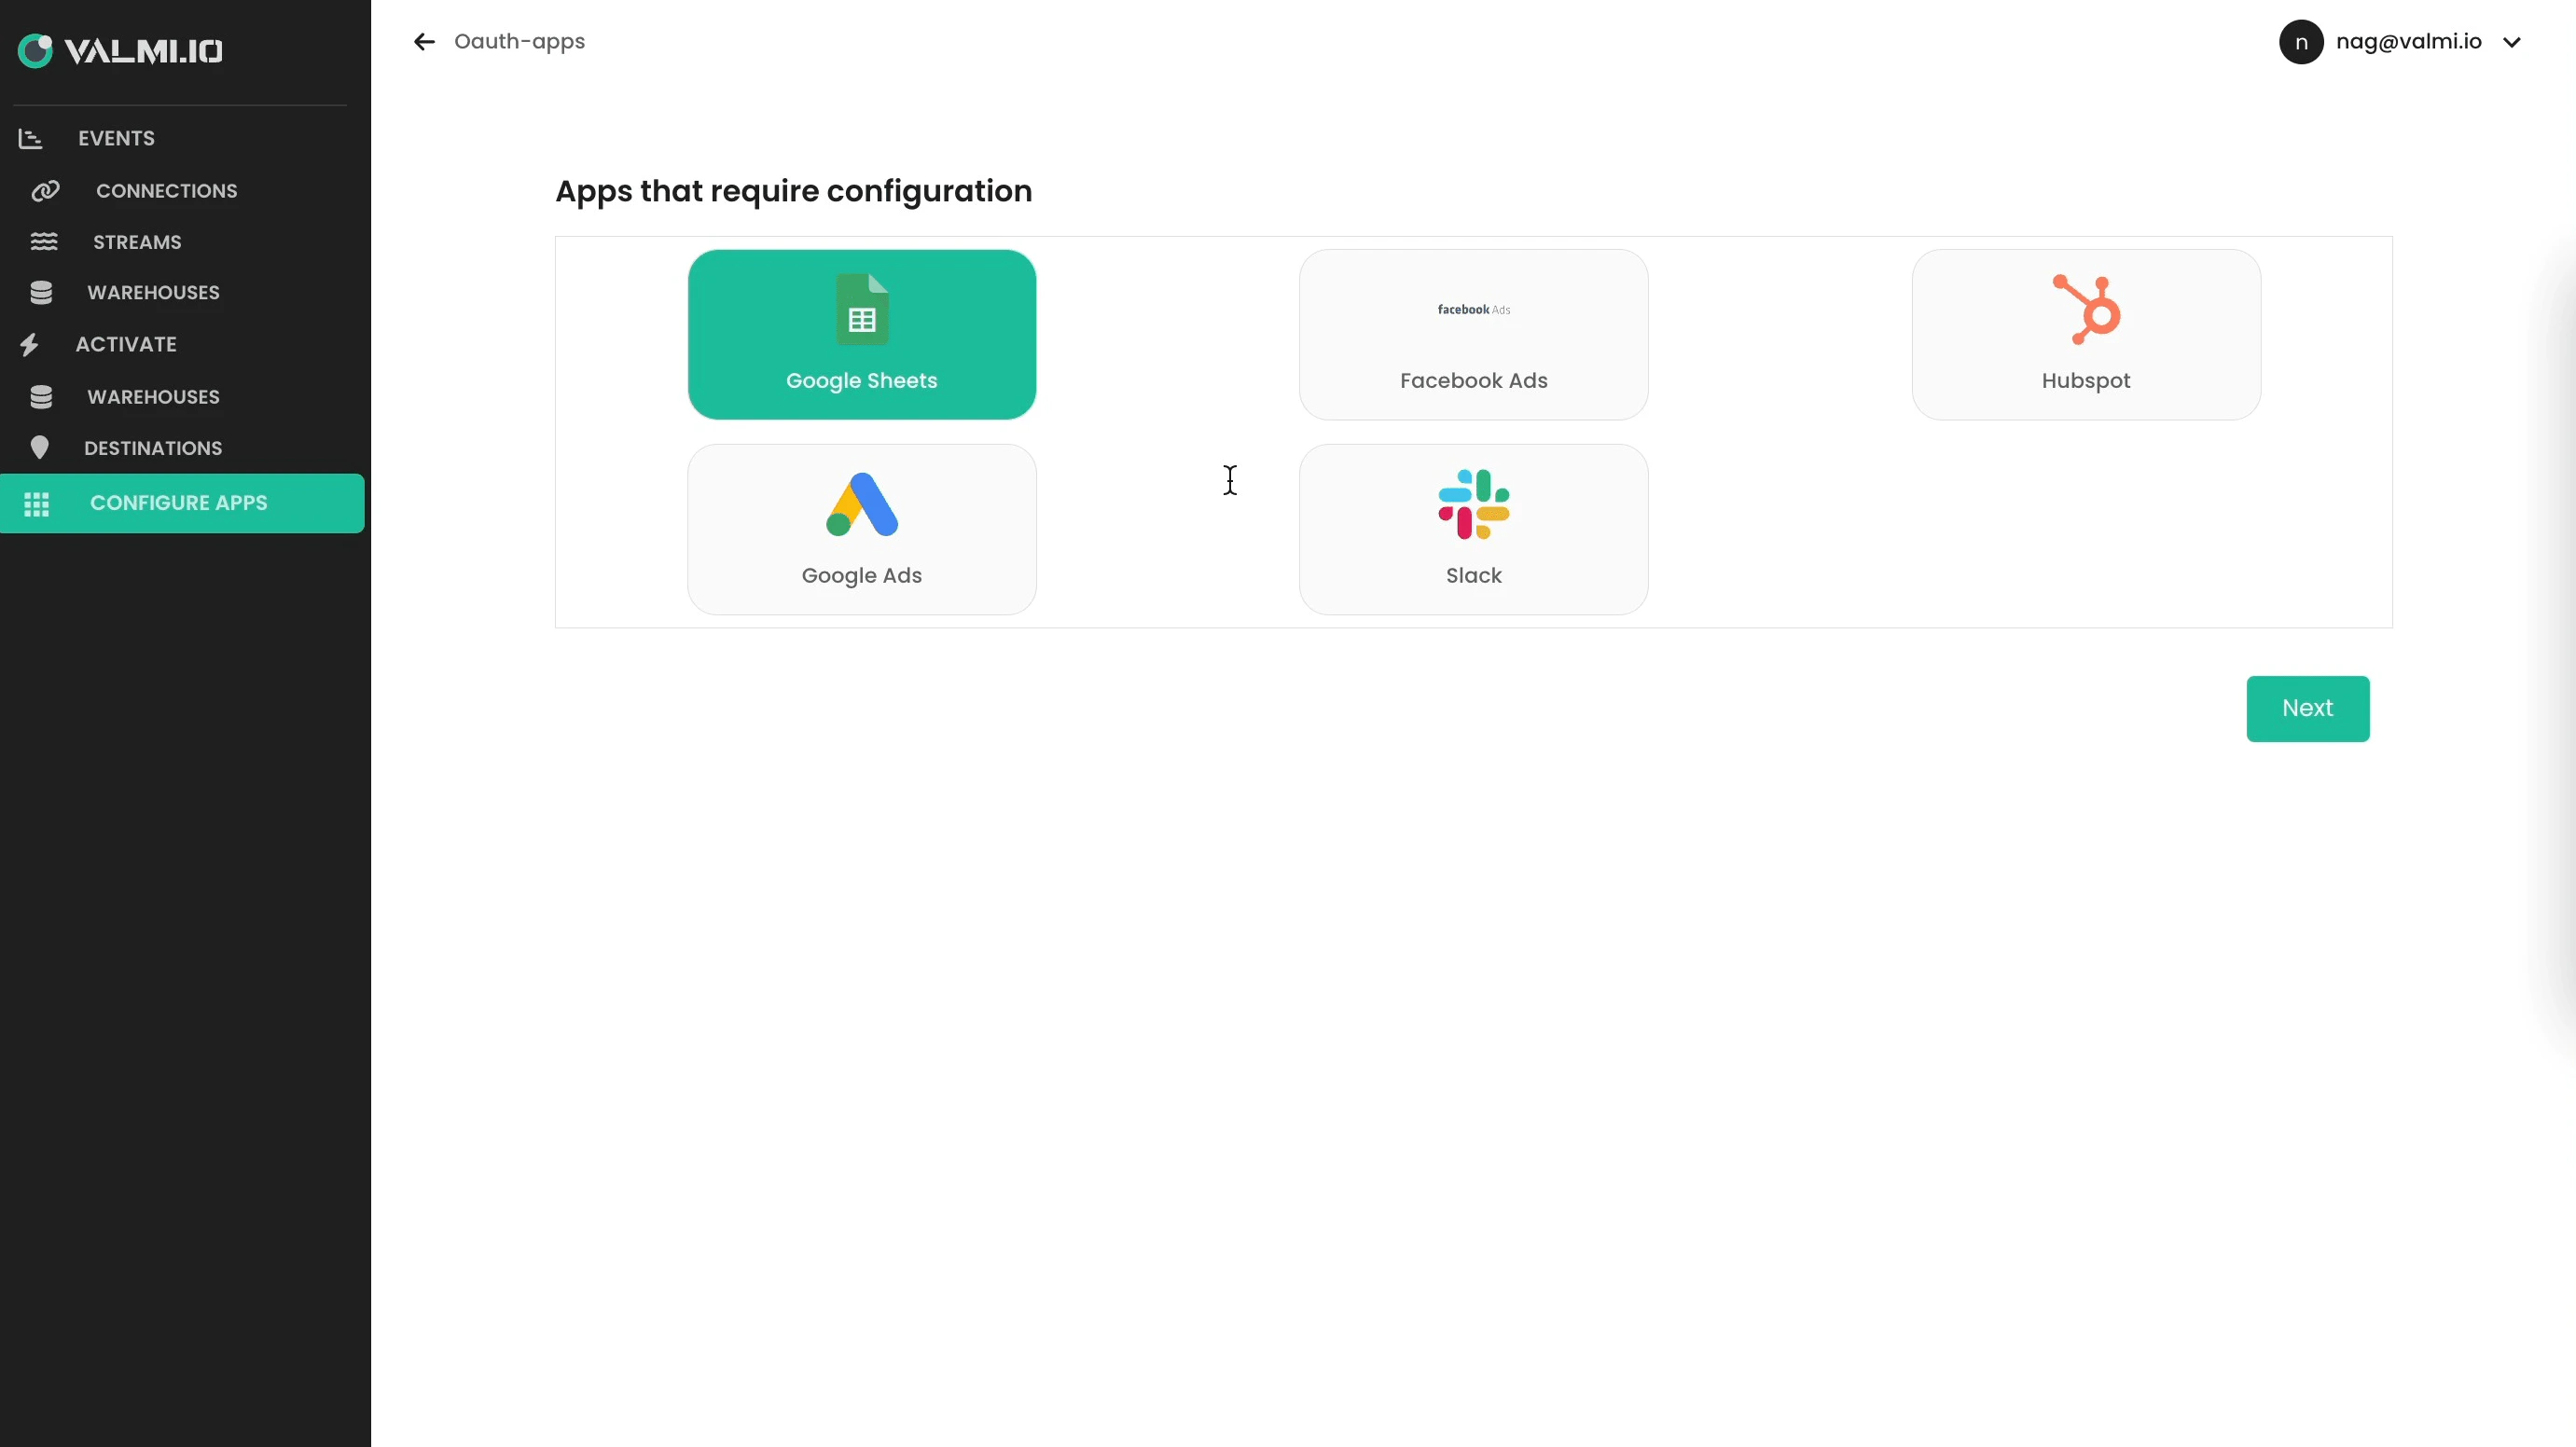
Step 4: Configure Google Sheets OAuth in valmi.io
- Access Configuration: In your application, navigate to the sidebar and select “CONFIGURE APPS”.
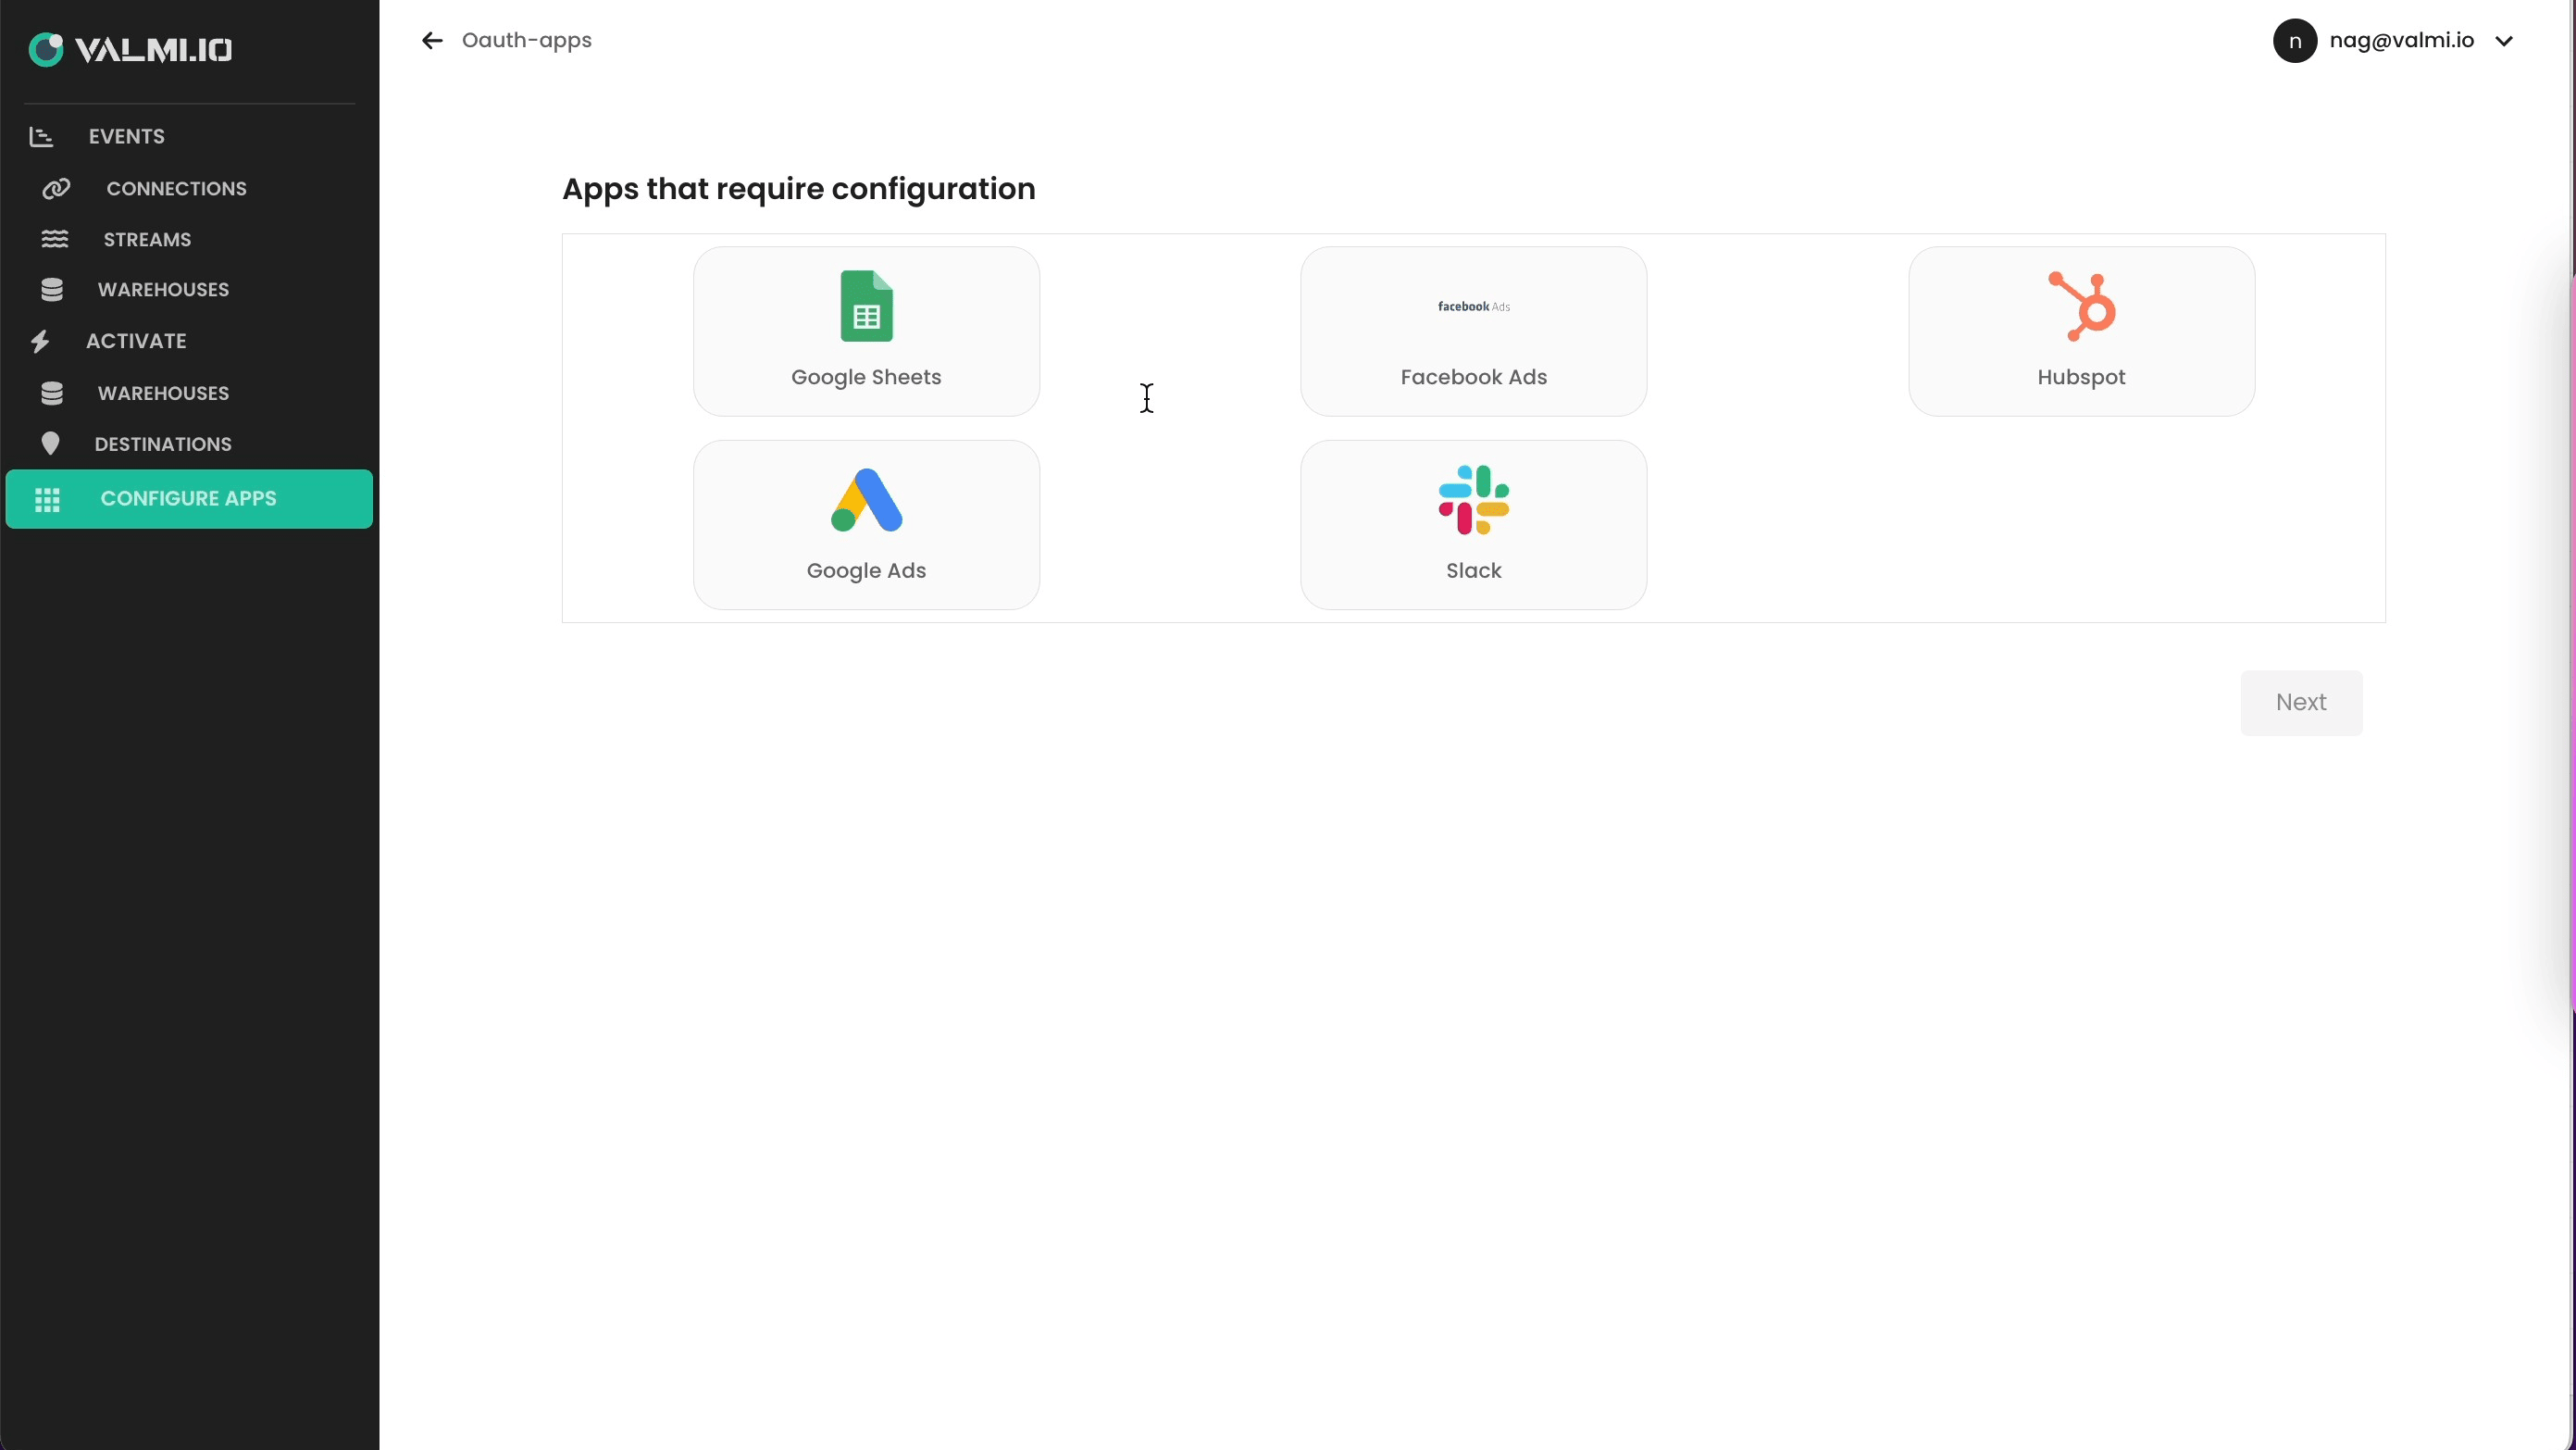
- Select Google Sheets OAuth Application: Find the Google Sheets OAuth application from the list of available applications and select it.
- Enter Credentials: Provide the Google Client ID and Client Secret that you obtained earlier into the input fields.

- Save Configuration: Click “Save” or “Update” to save the configuration.